diy fluffy ribbon for packages

As promised, here is a ribbon tutorial for the Christmas packages you wrapped yesterday!

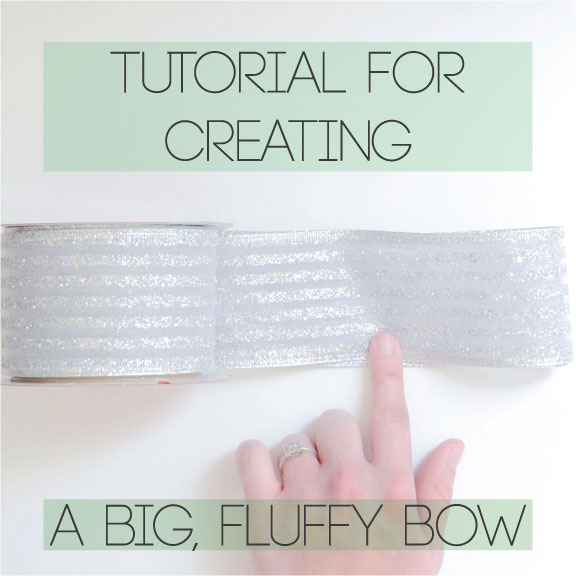
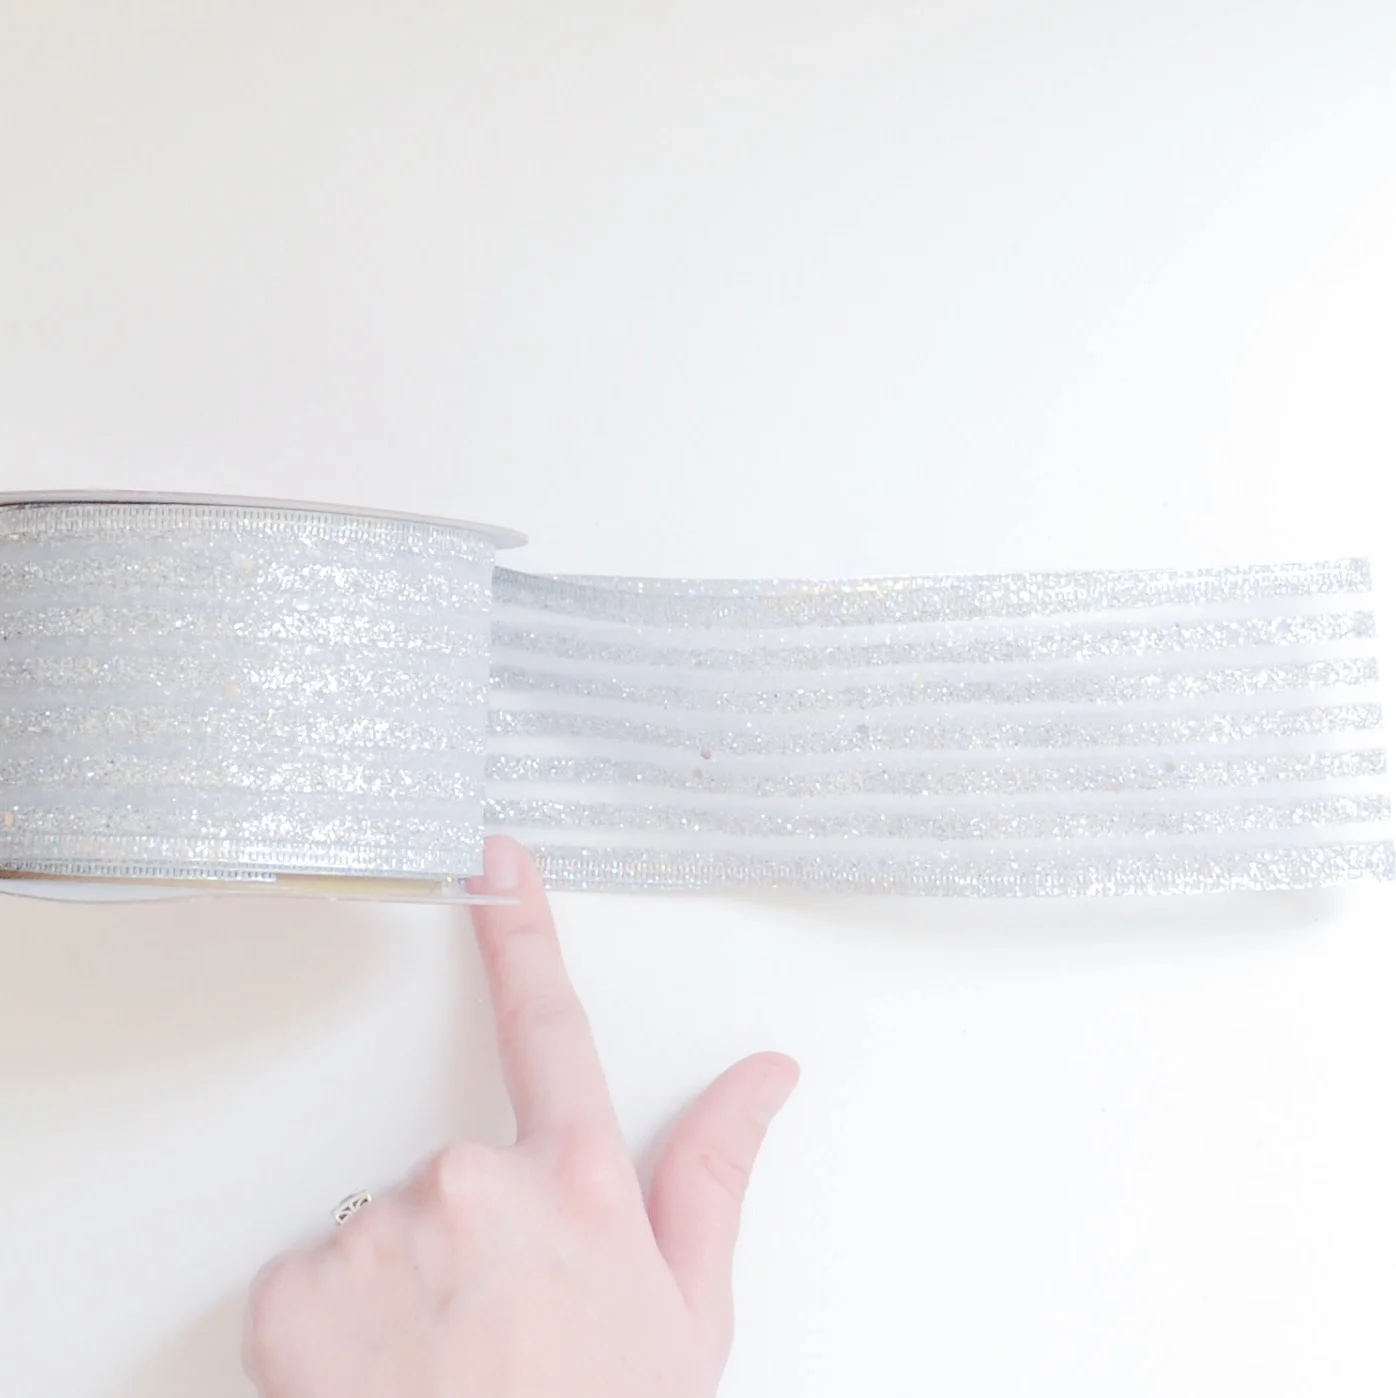
 1 | Start by folding in half a piece of ribbon slightly larger than you want your bow.

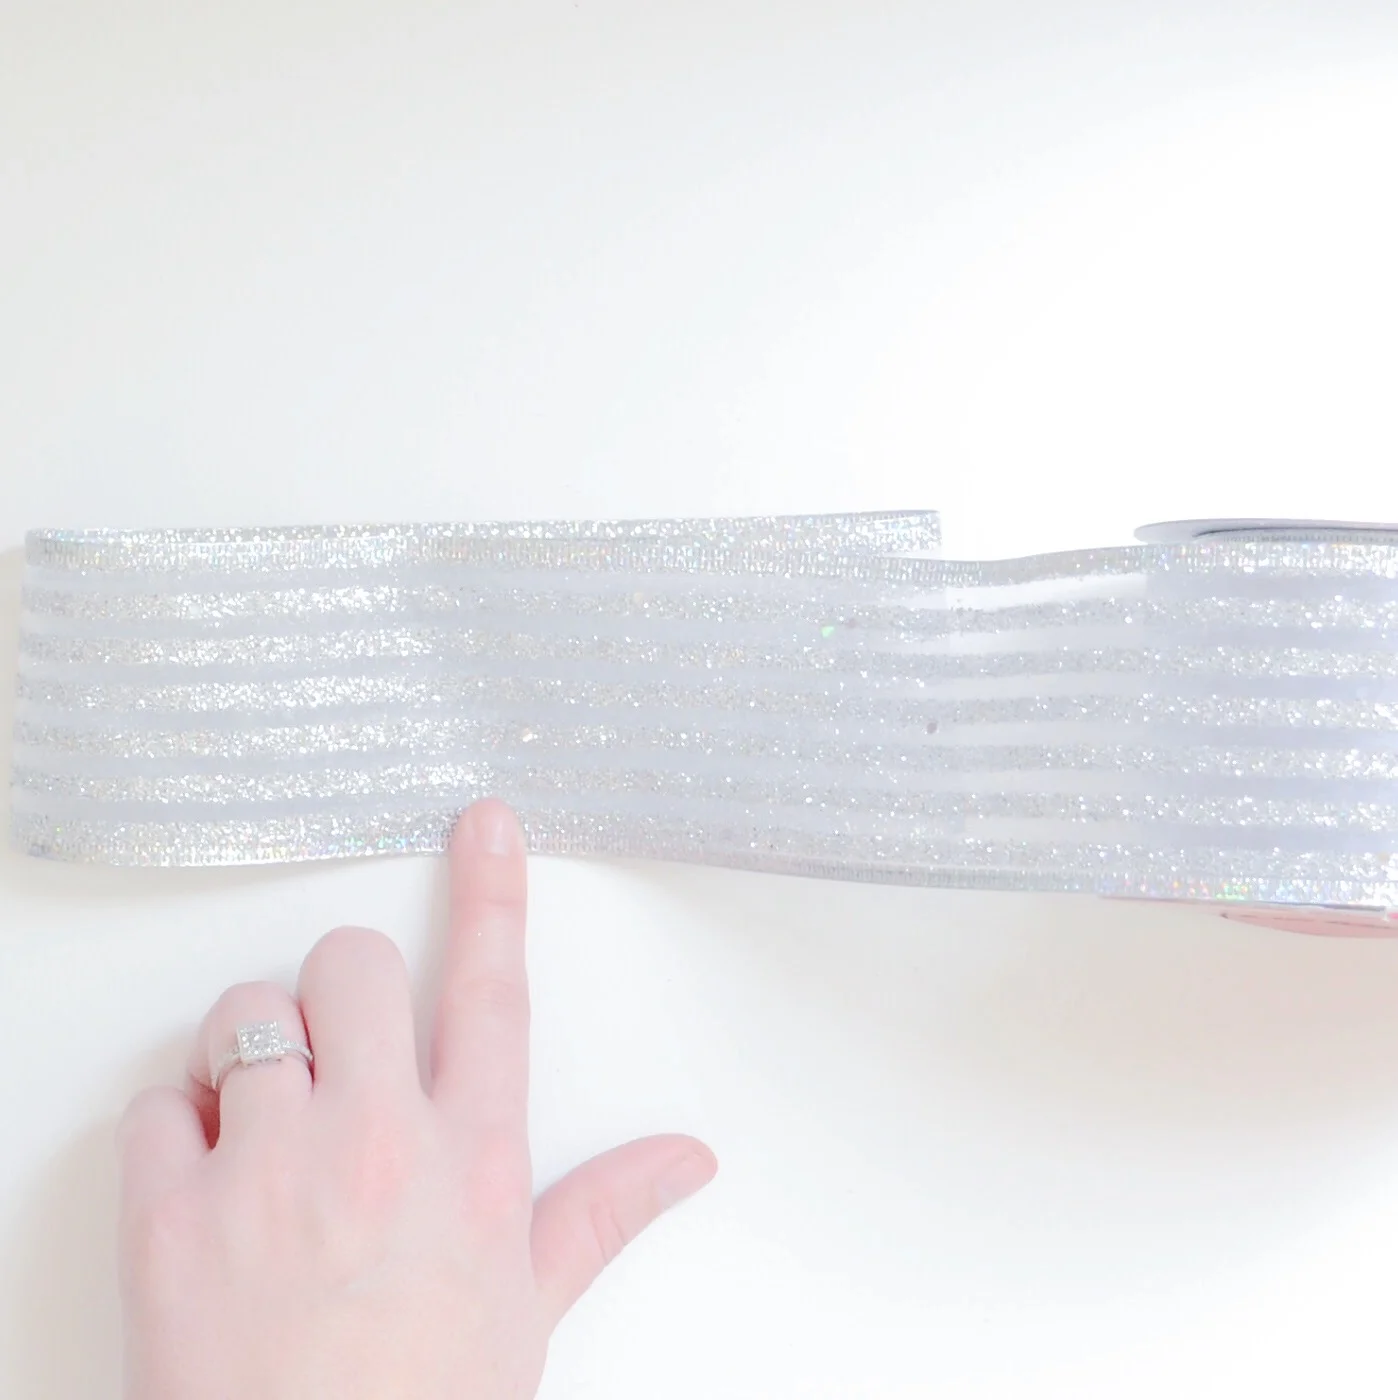
 2| Fold ribbon around to other side, and continue until you have done at least four folds (two on each side).

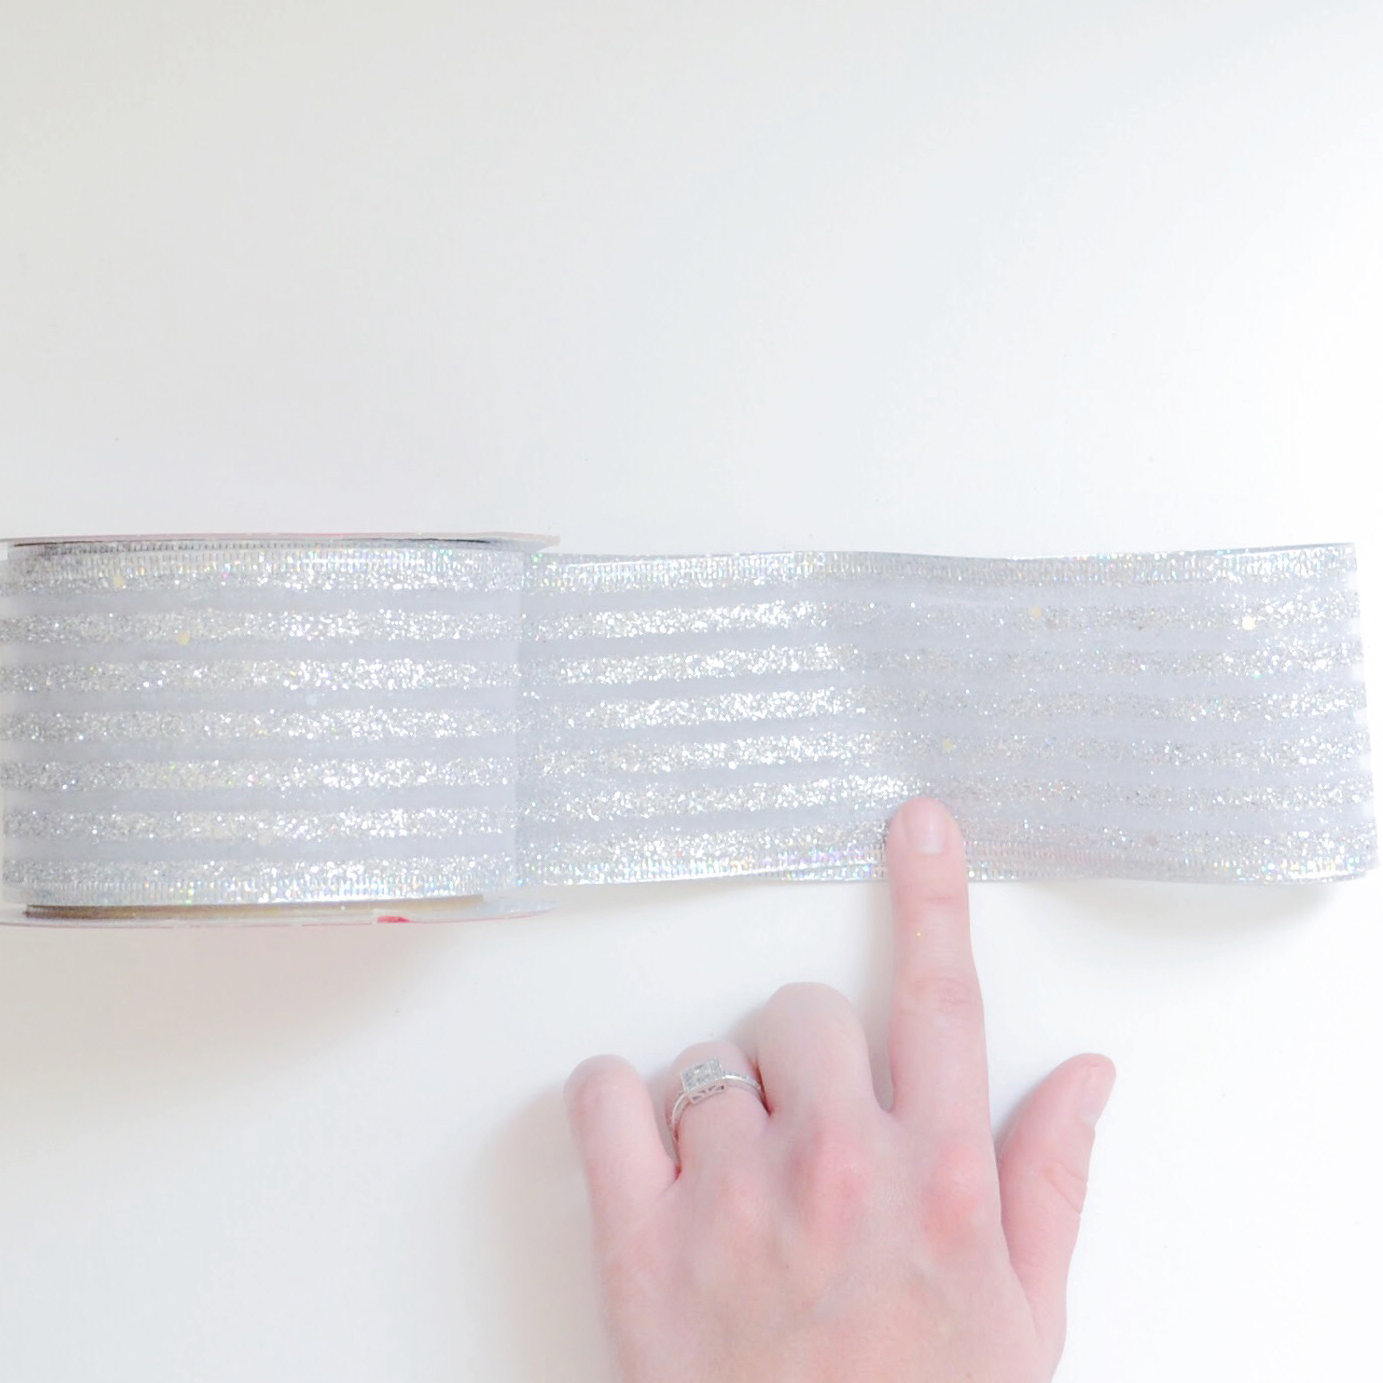
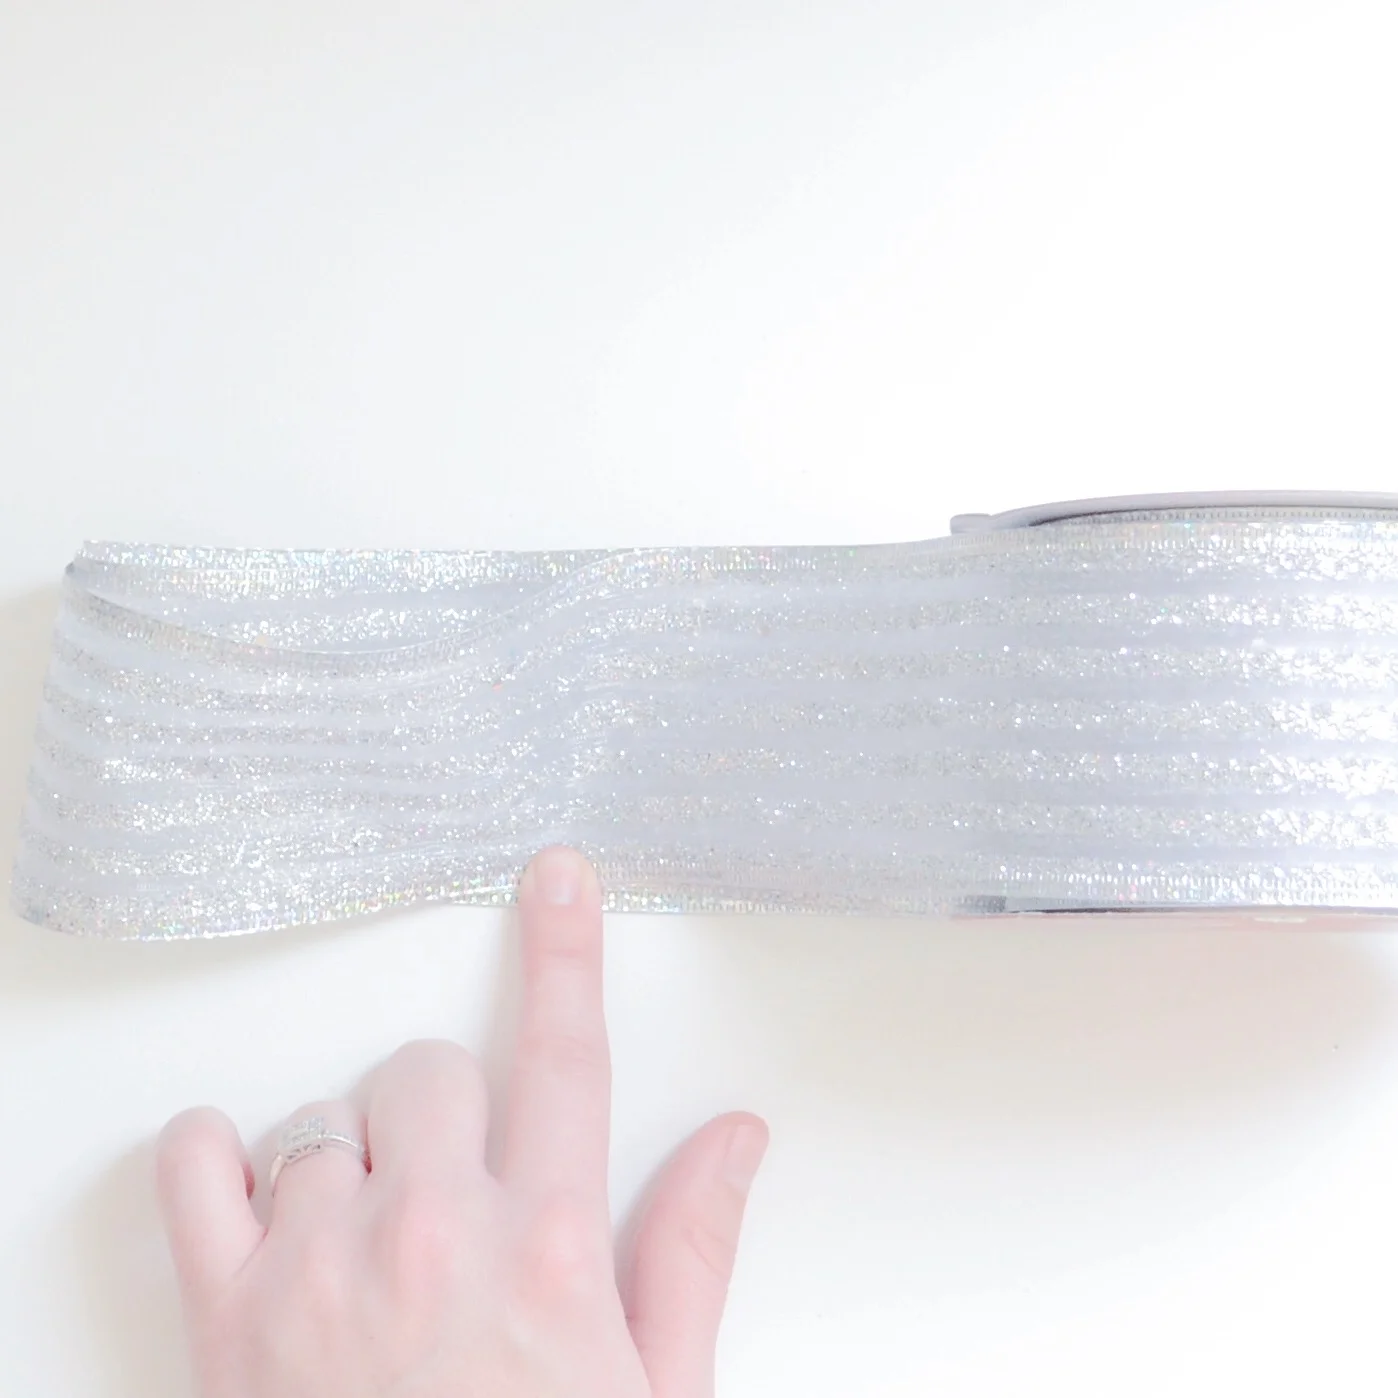
3|  Once you've wrapped the ribbon around at least four times (more for a fuller bow), cut the ribbon.

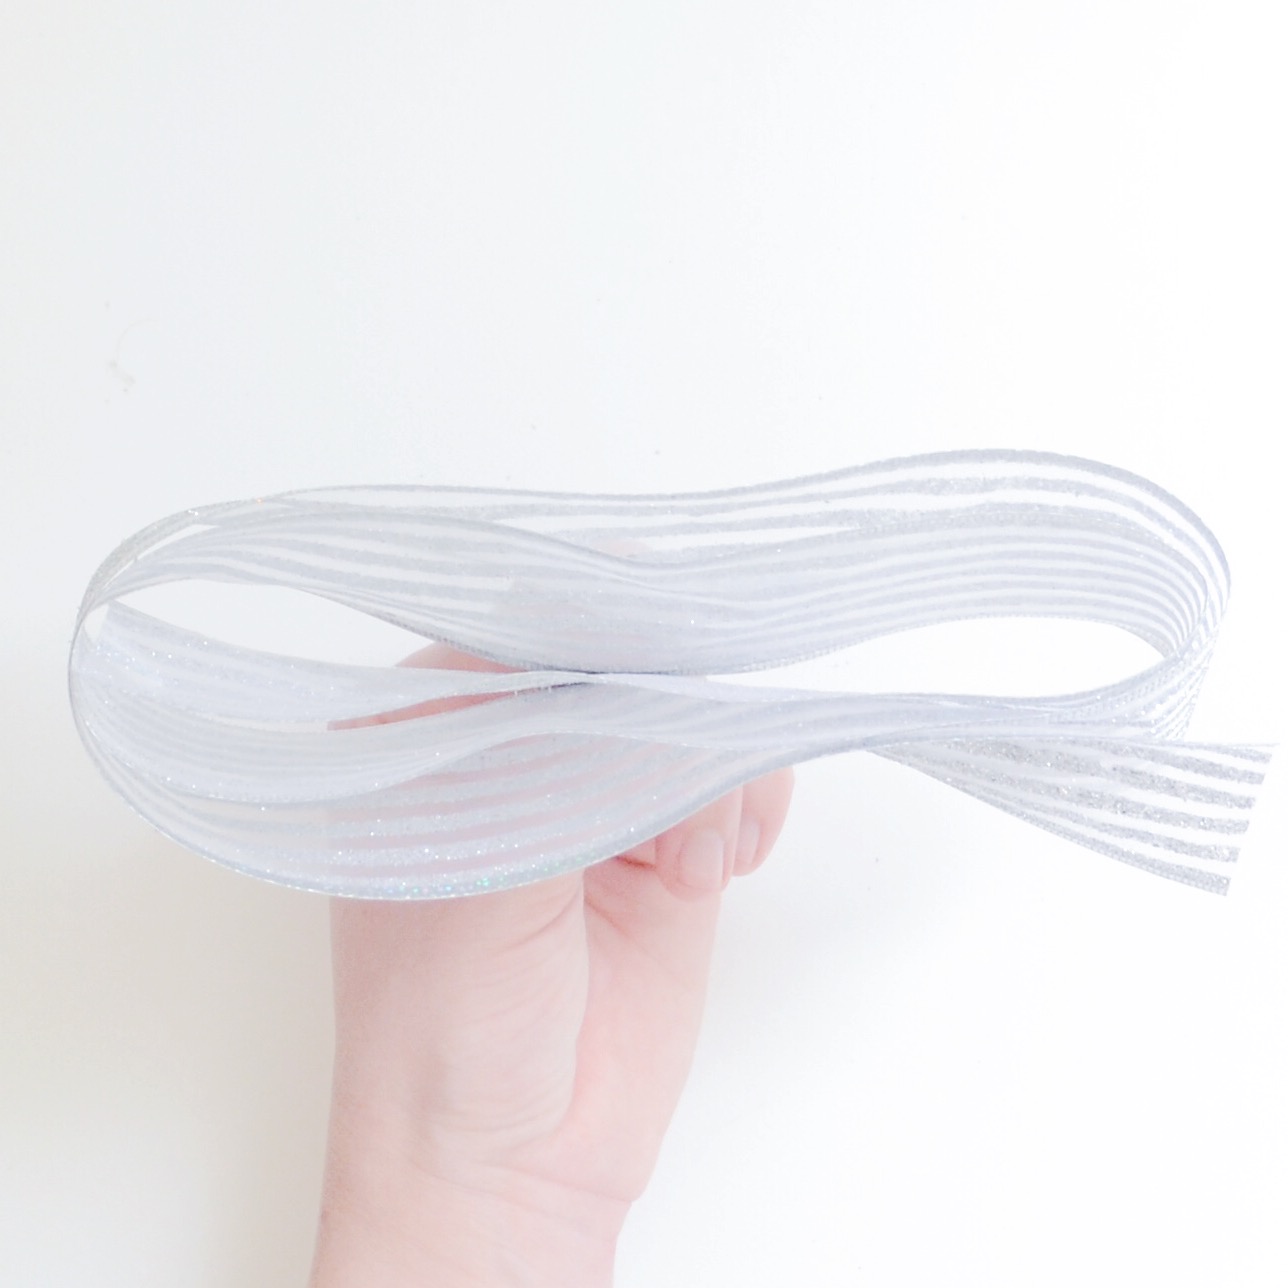
4| Staple the center of the ribbon to hold in place.

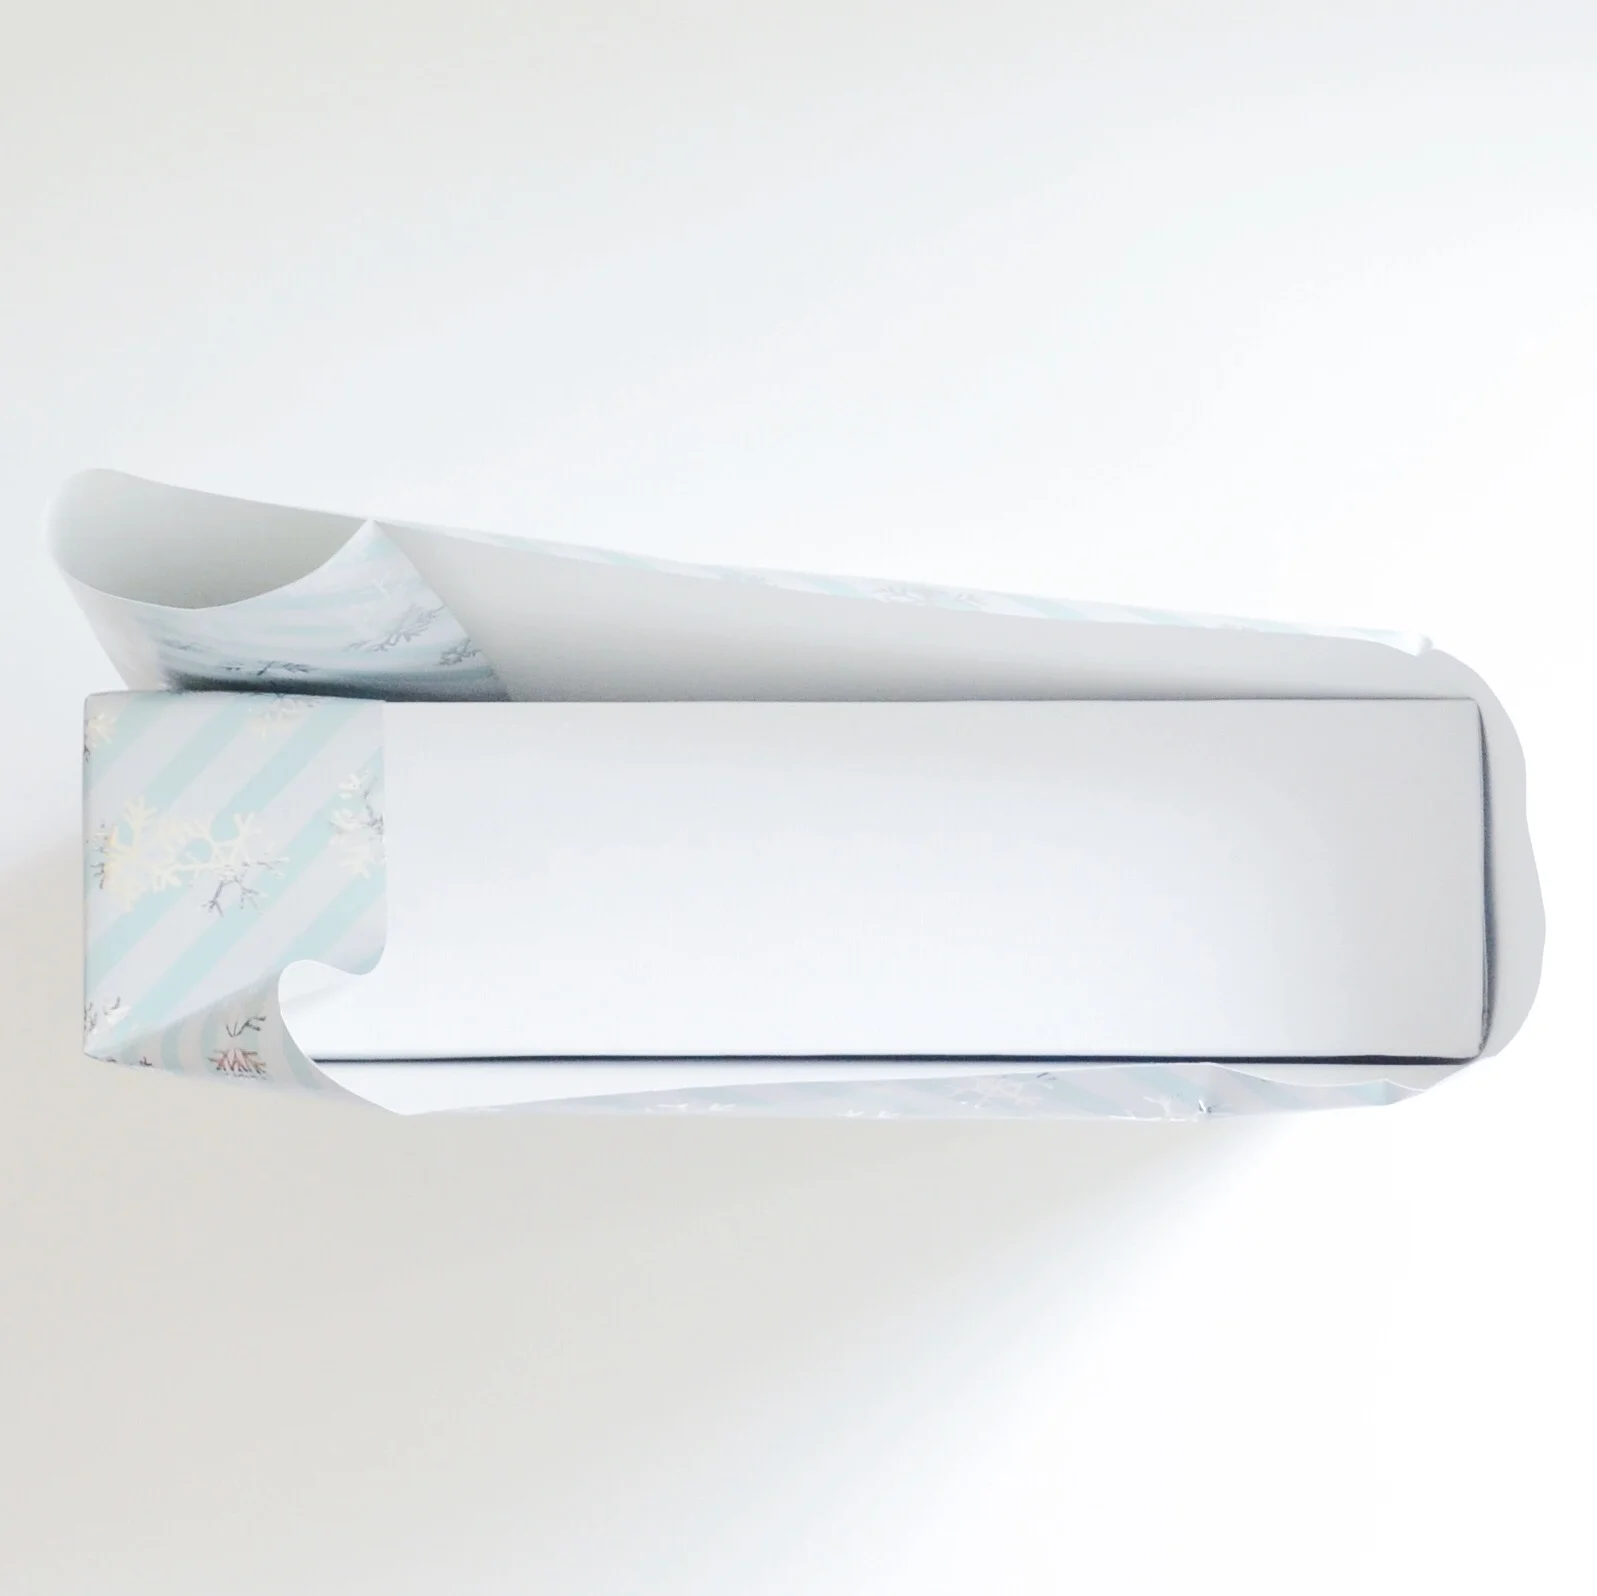
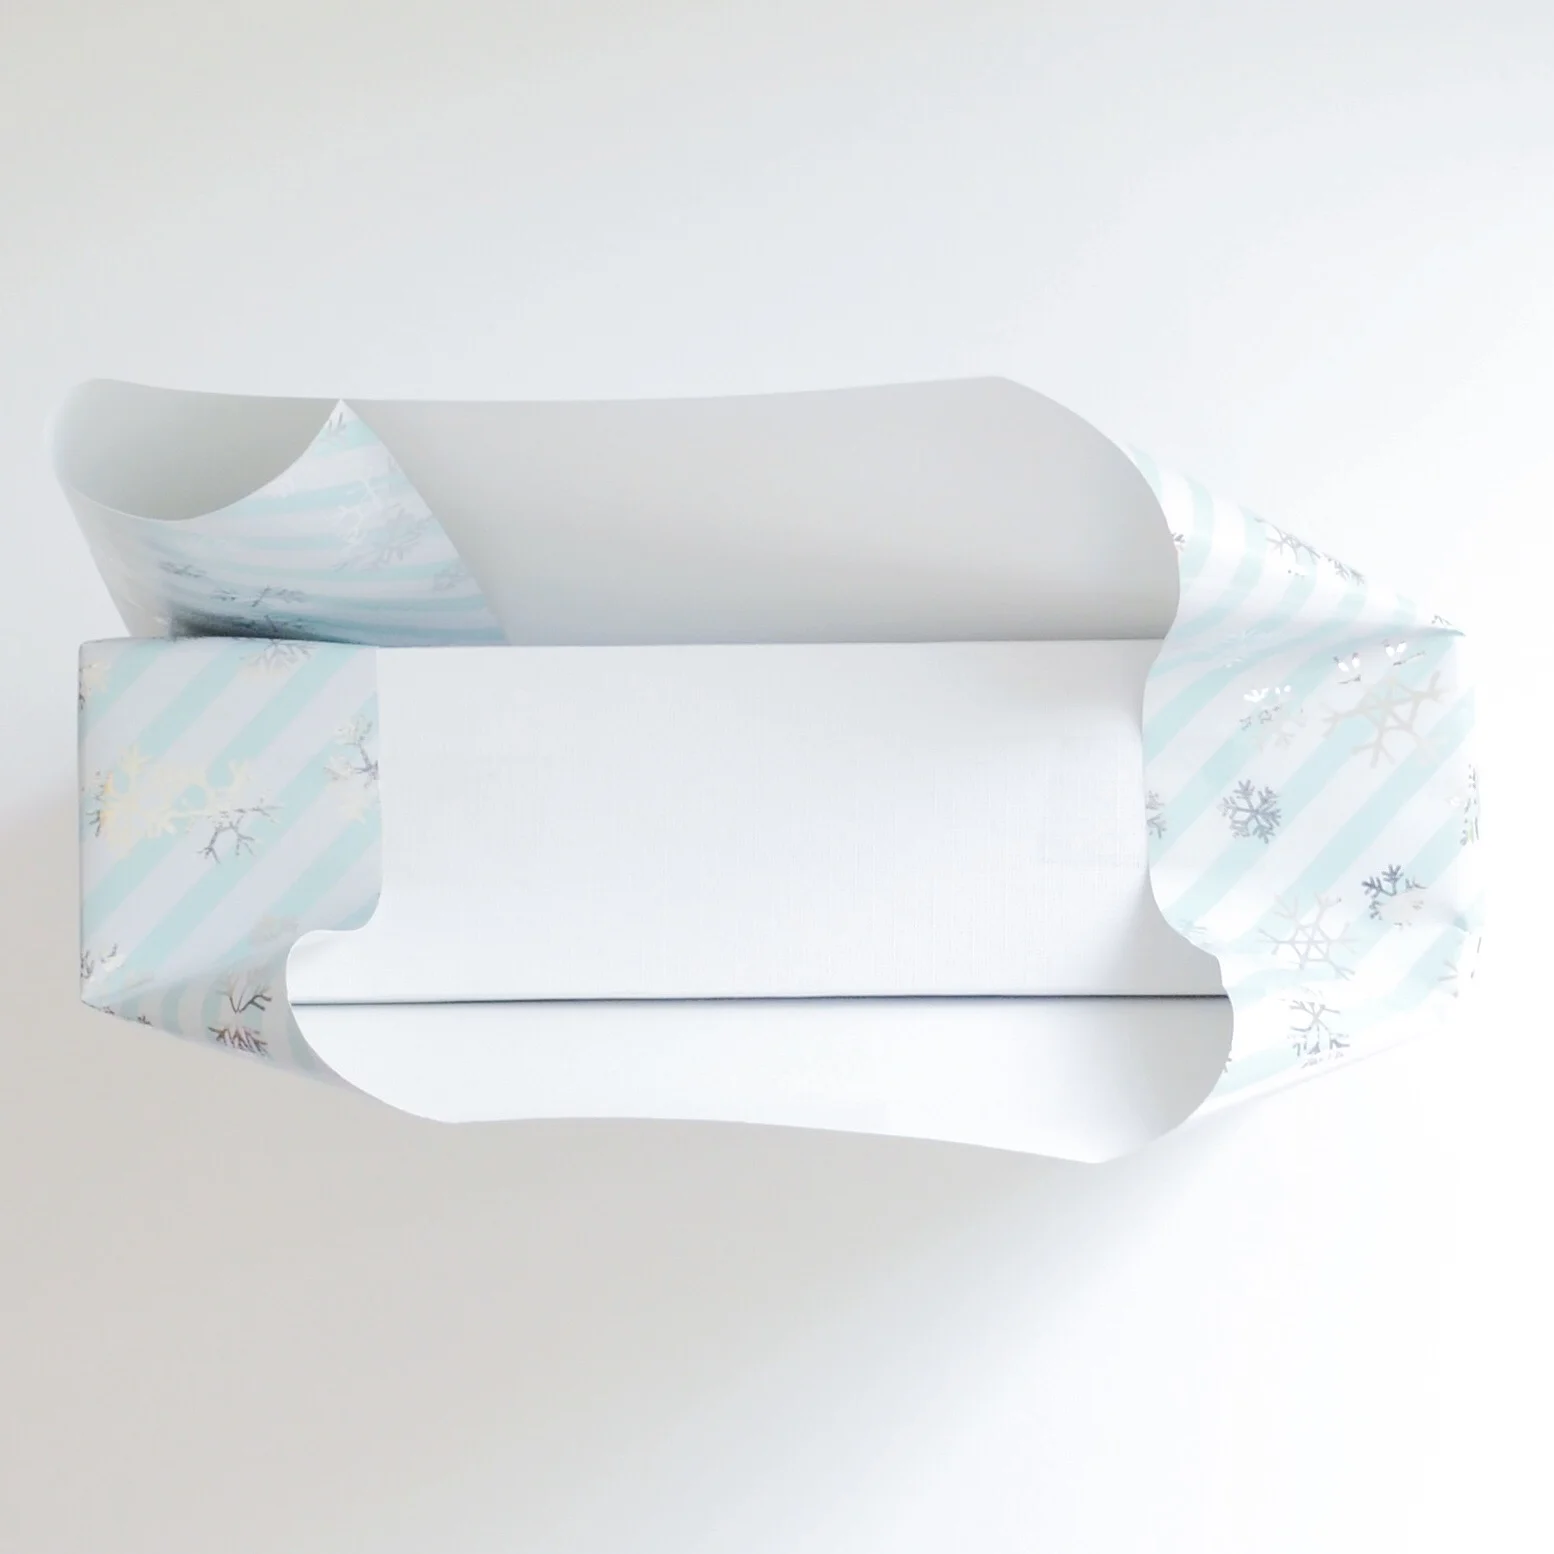
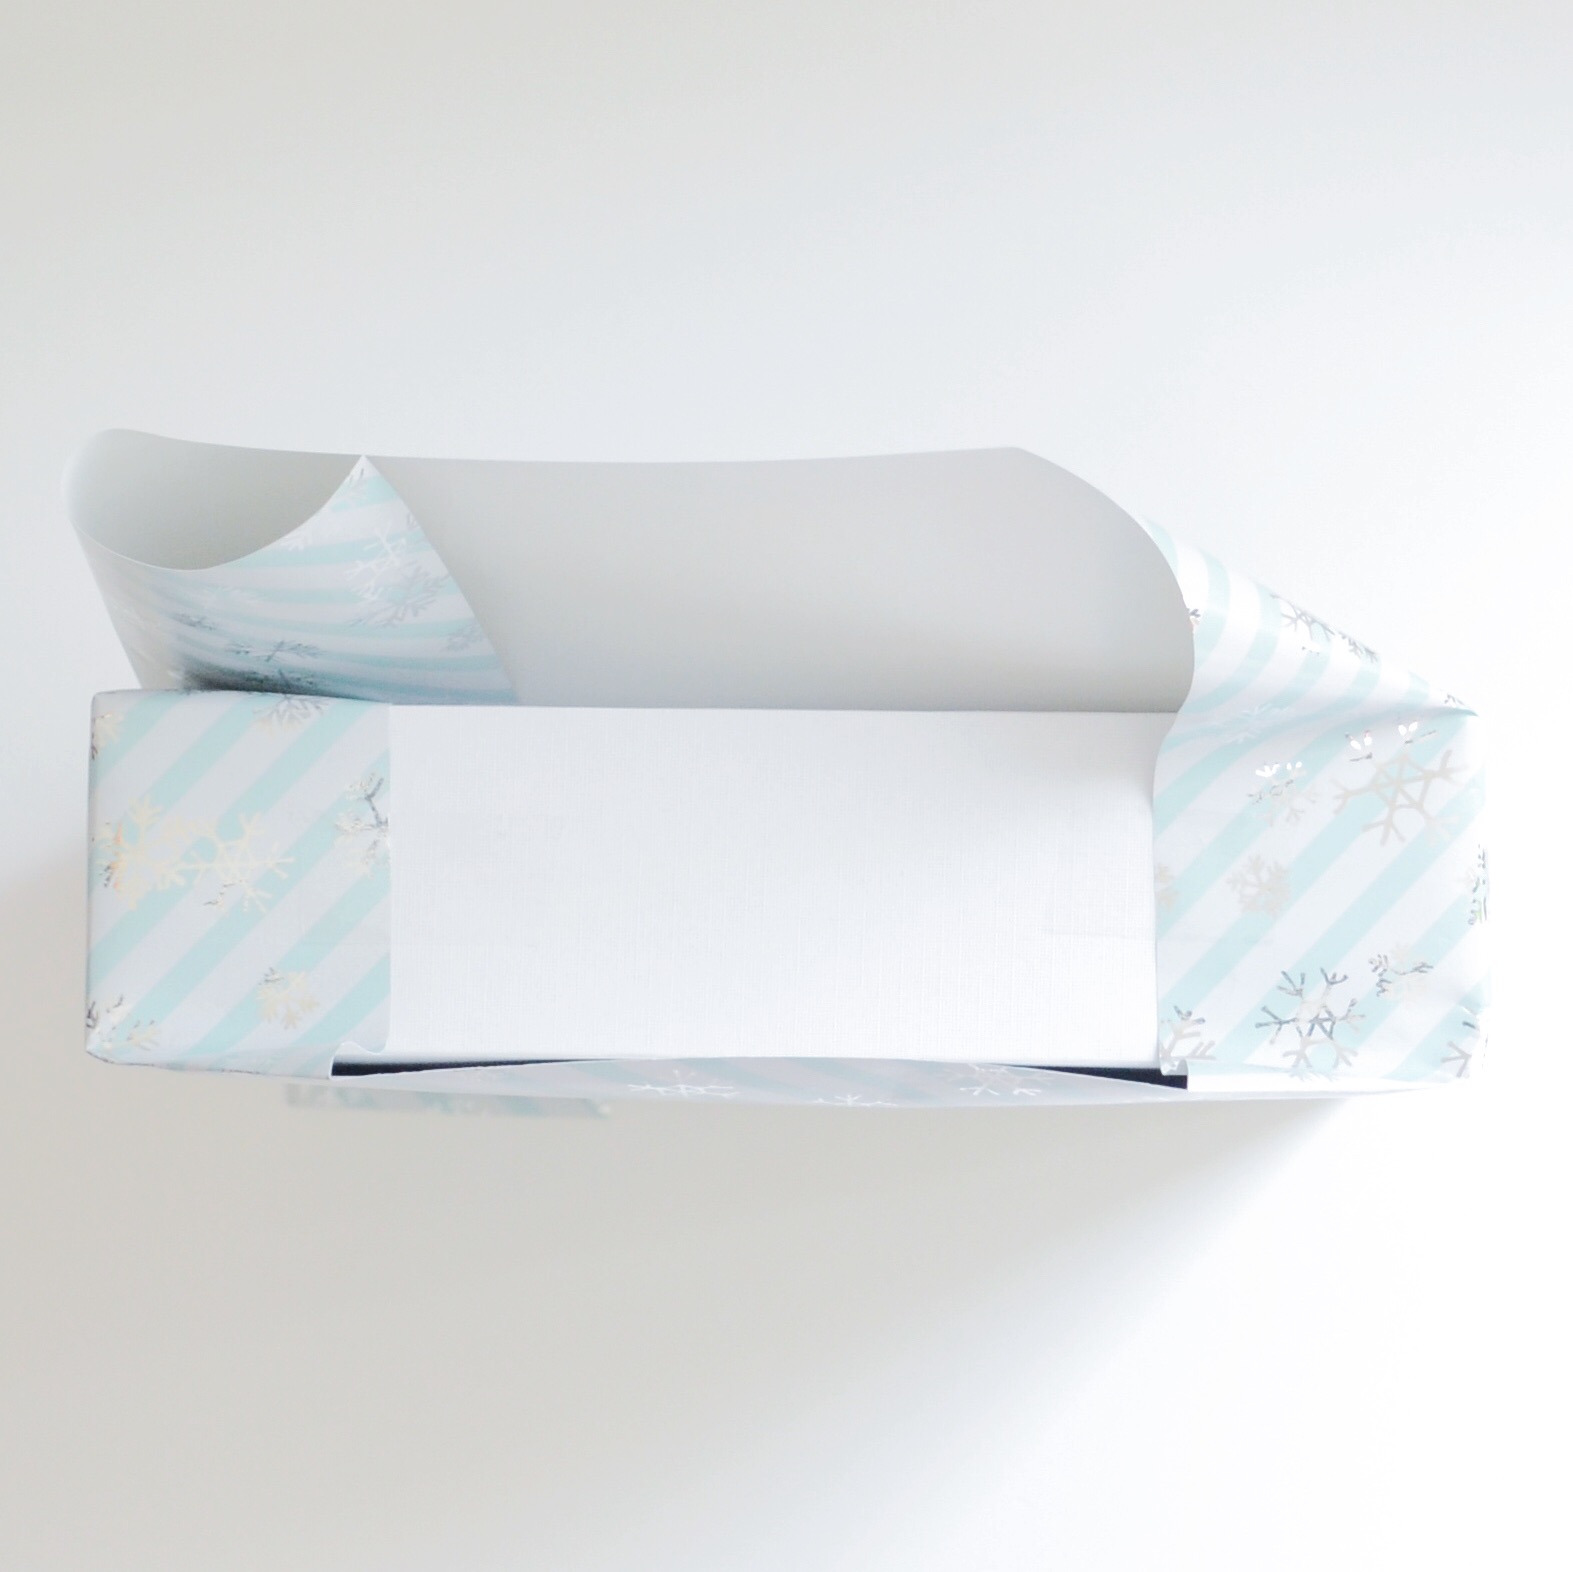
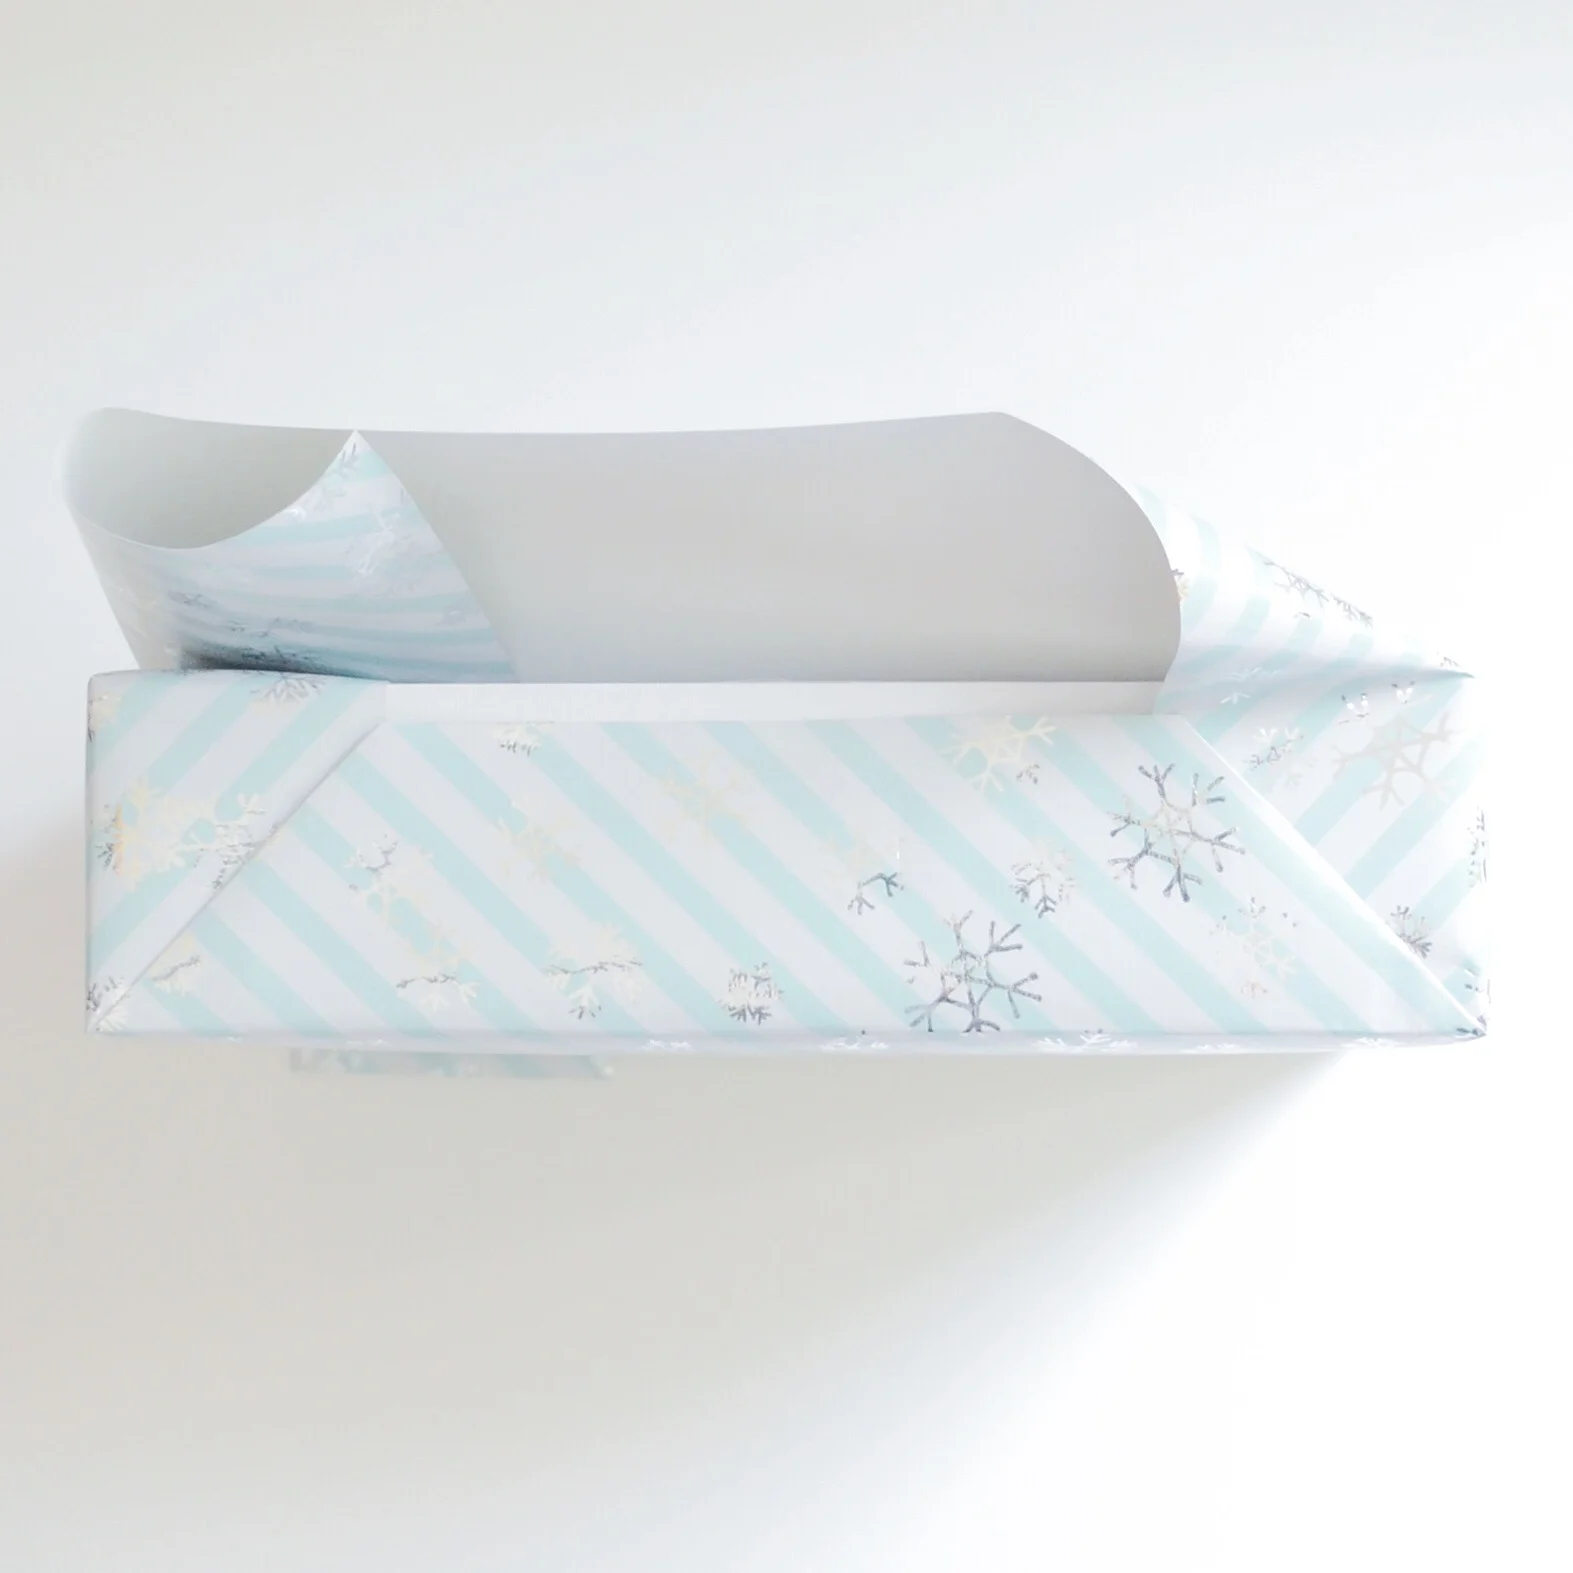
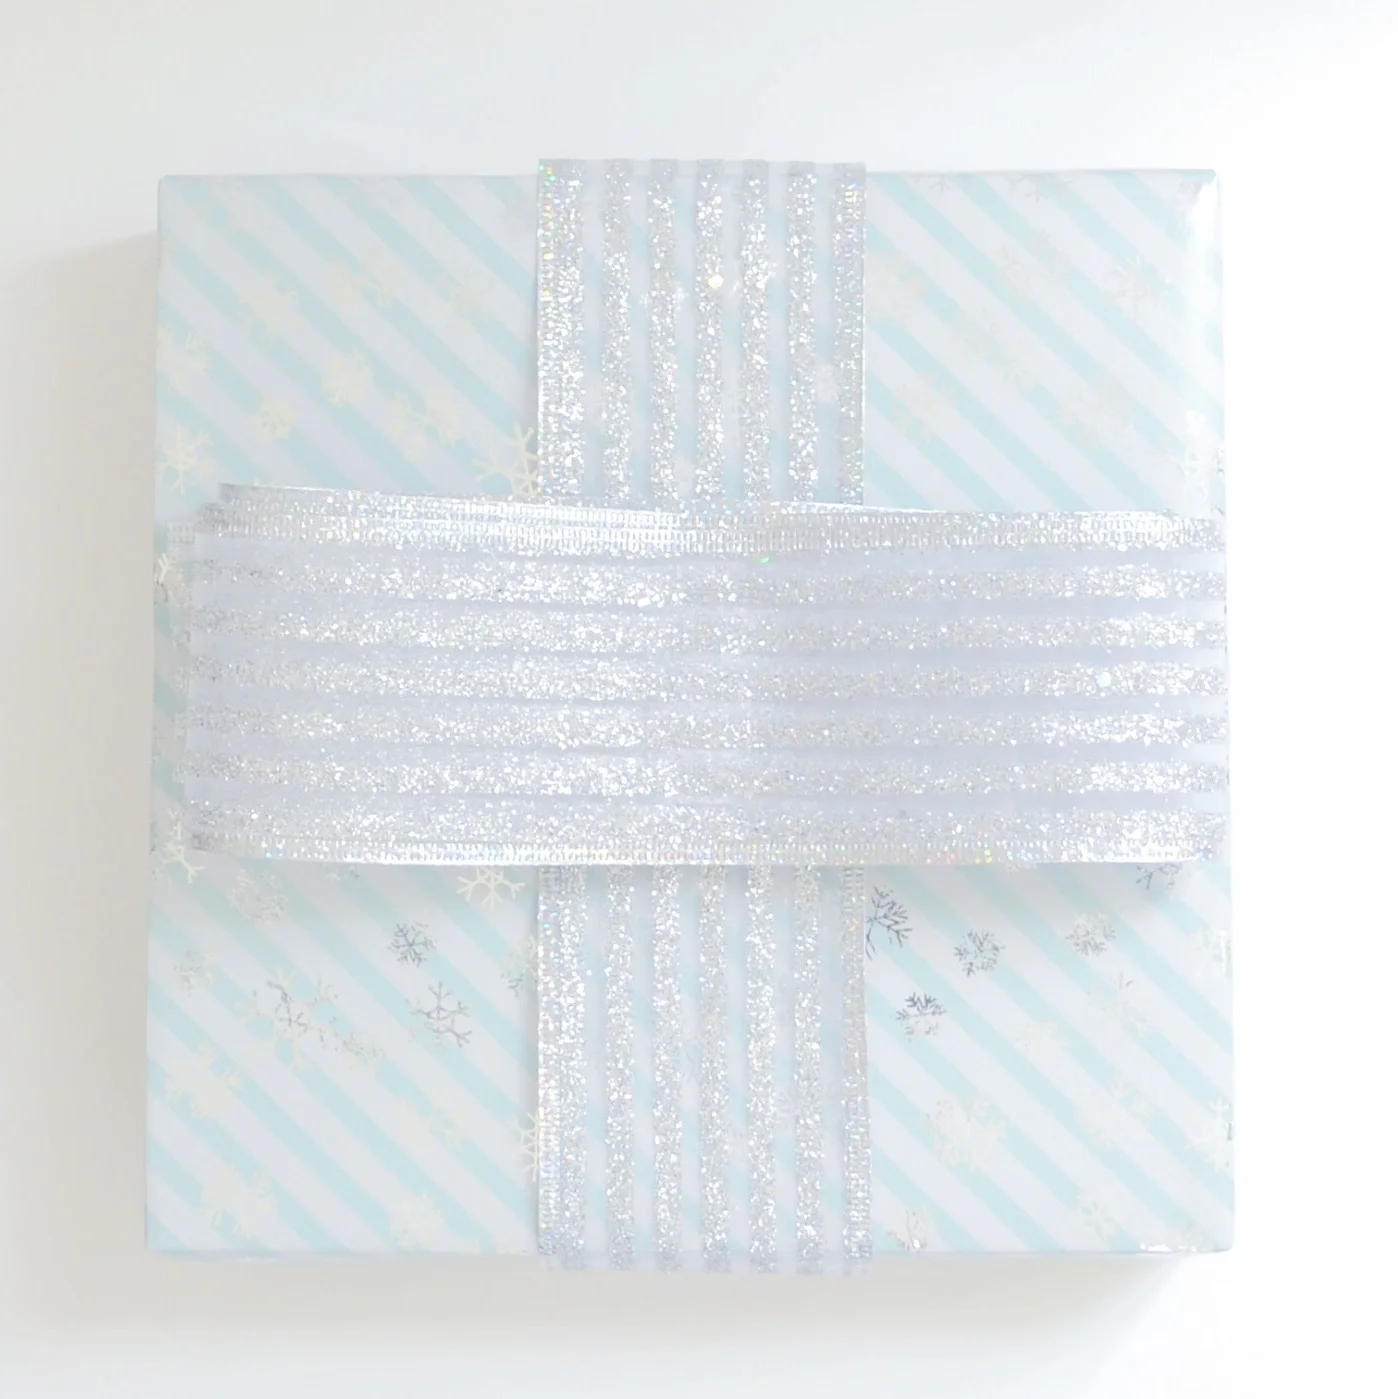
 5 | Cut a piece of ribbon to fit around your package.

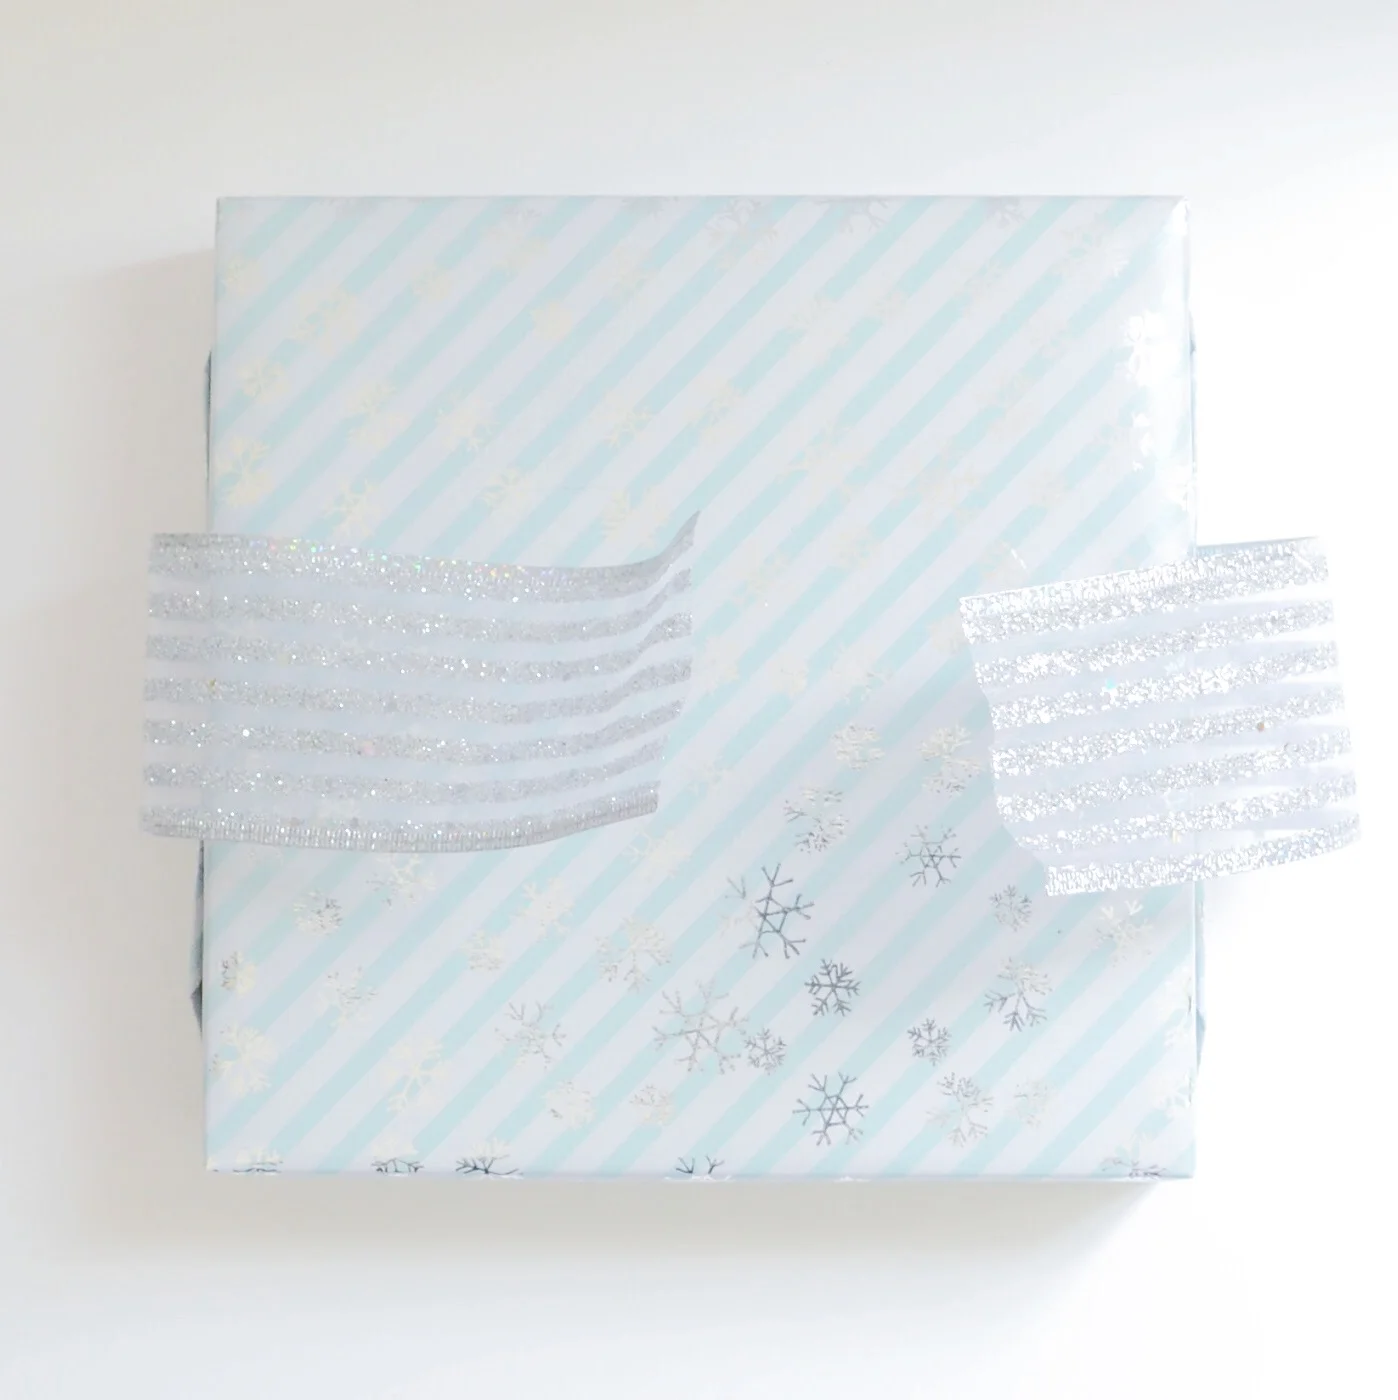
6 | Staple ribbon at top and bottom to hold in place.

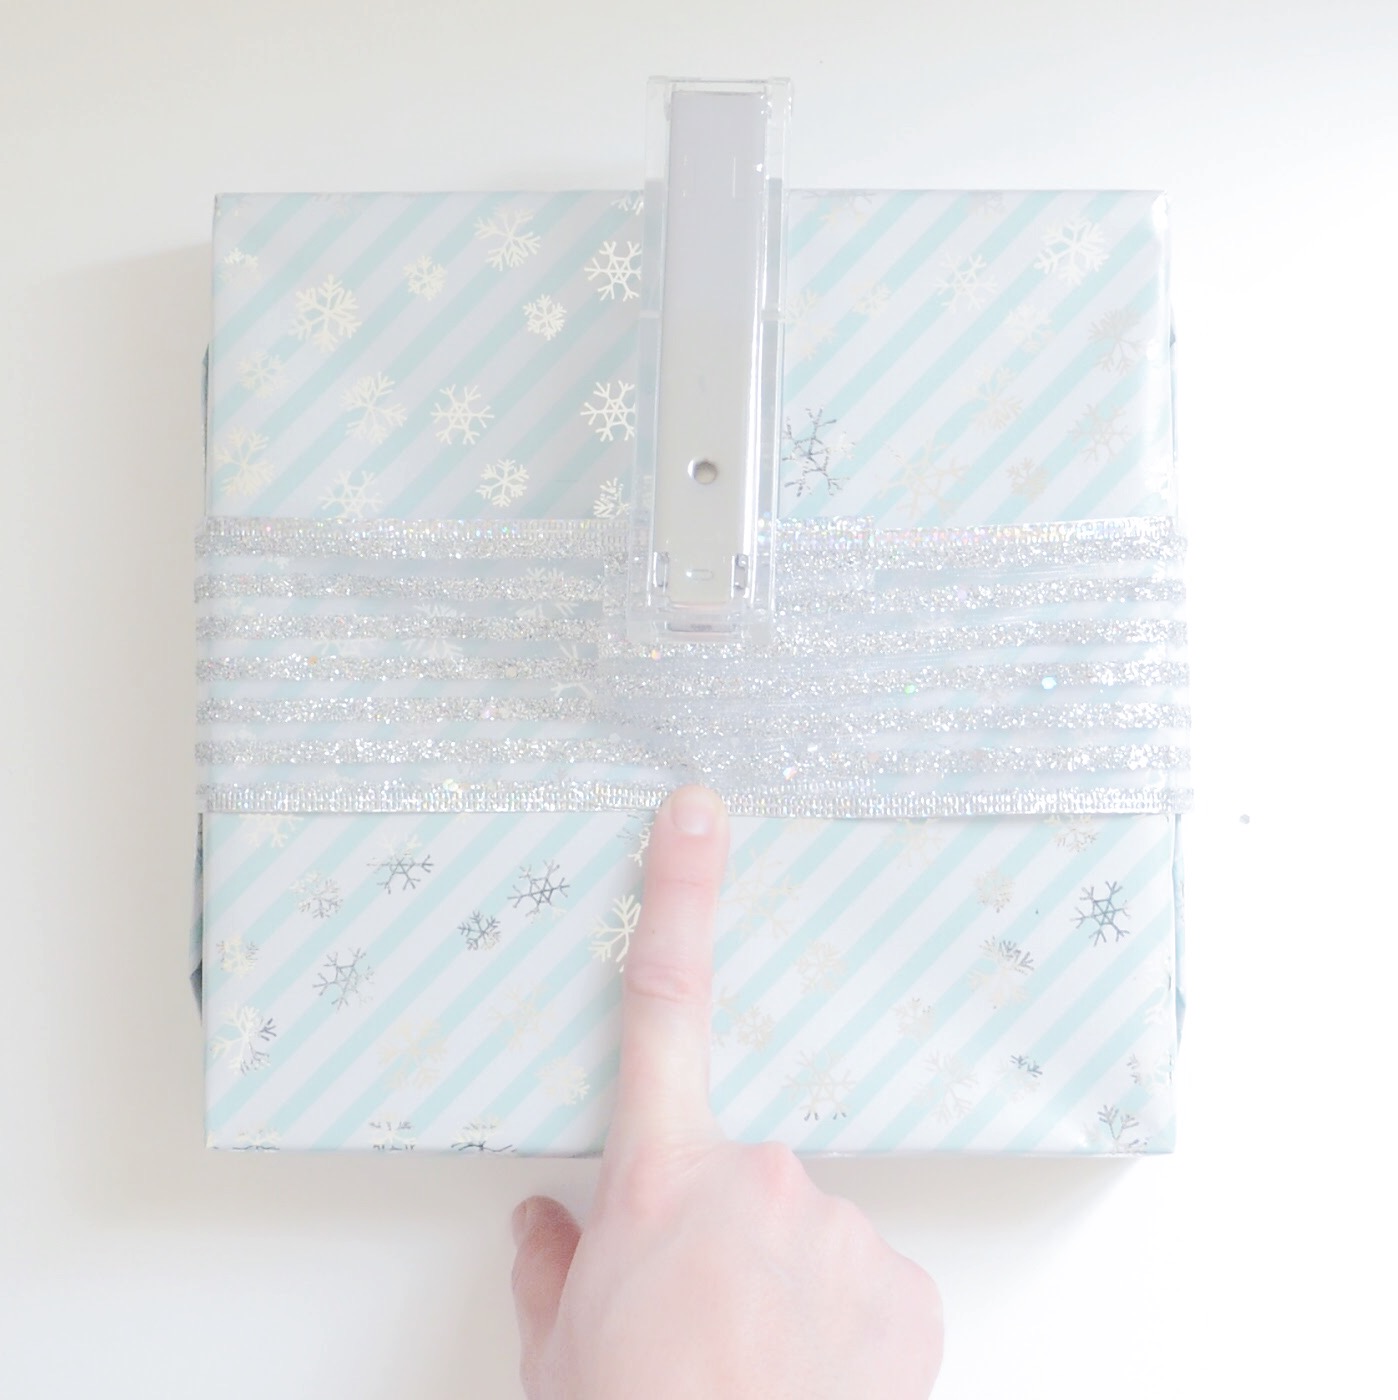
 7 | Place your folded ribbon perpendicular the ribbon you placed on the package and staple once to hold in place.

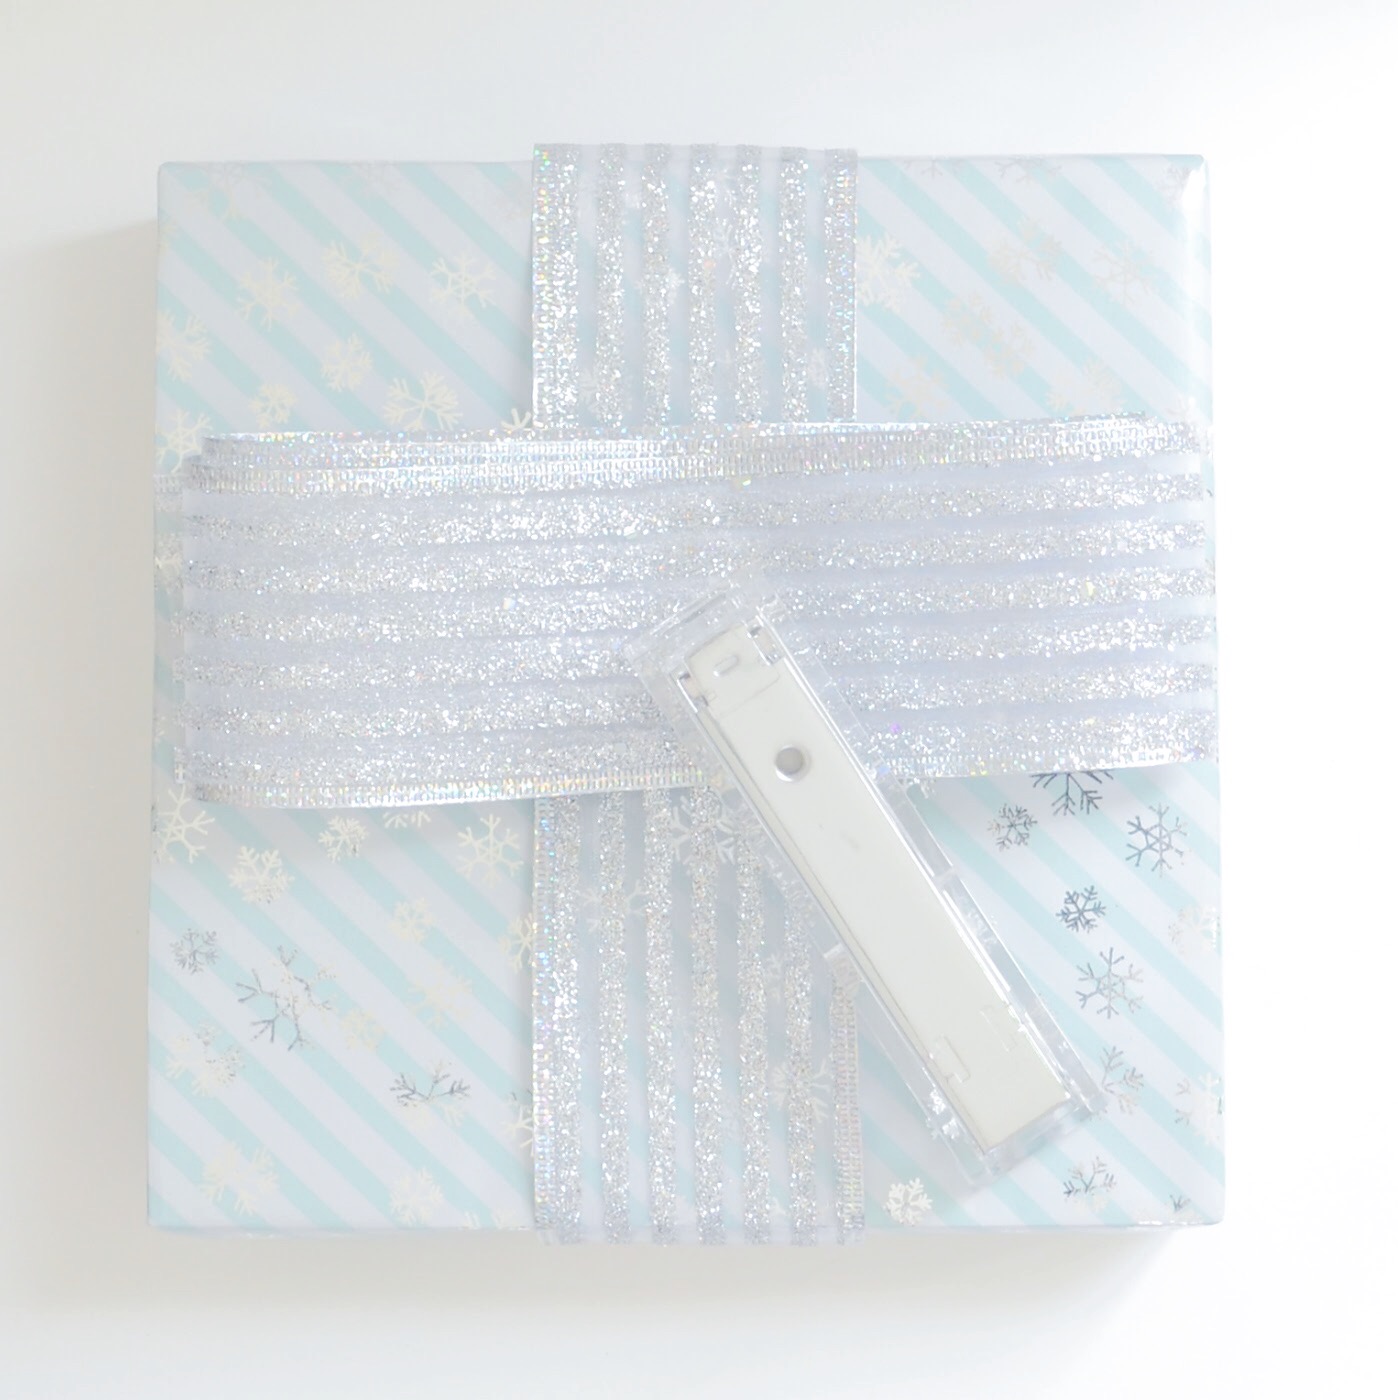
 8 | Cut another piece of ribbon to wrap around your bow. This will hide the staples you have used

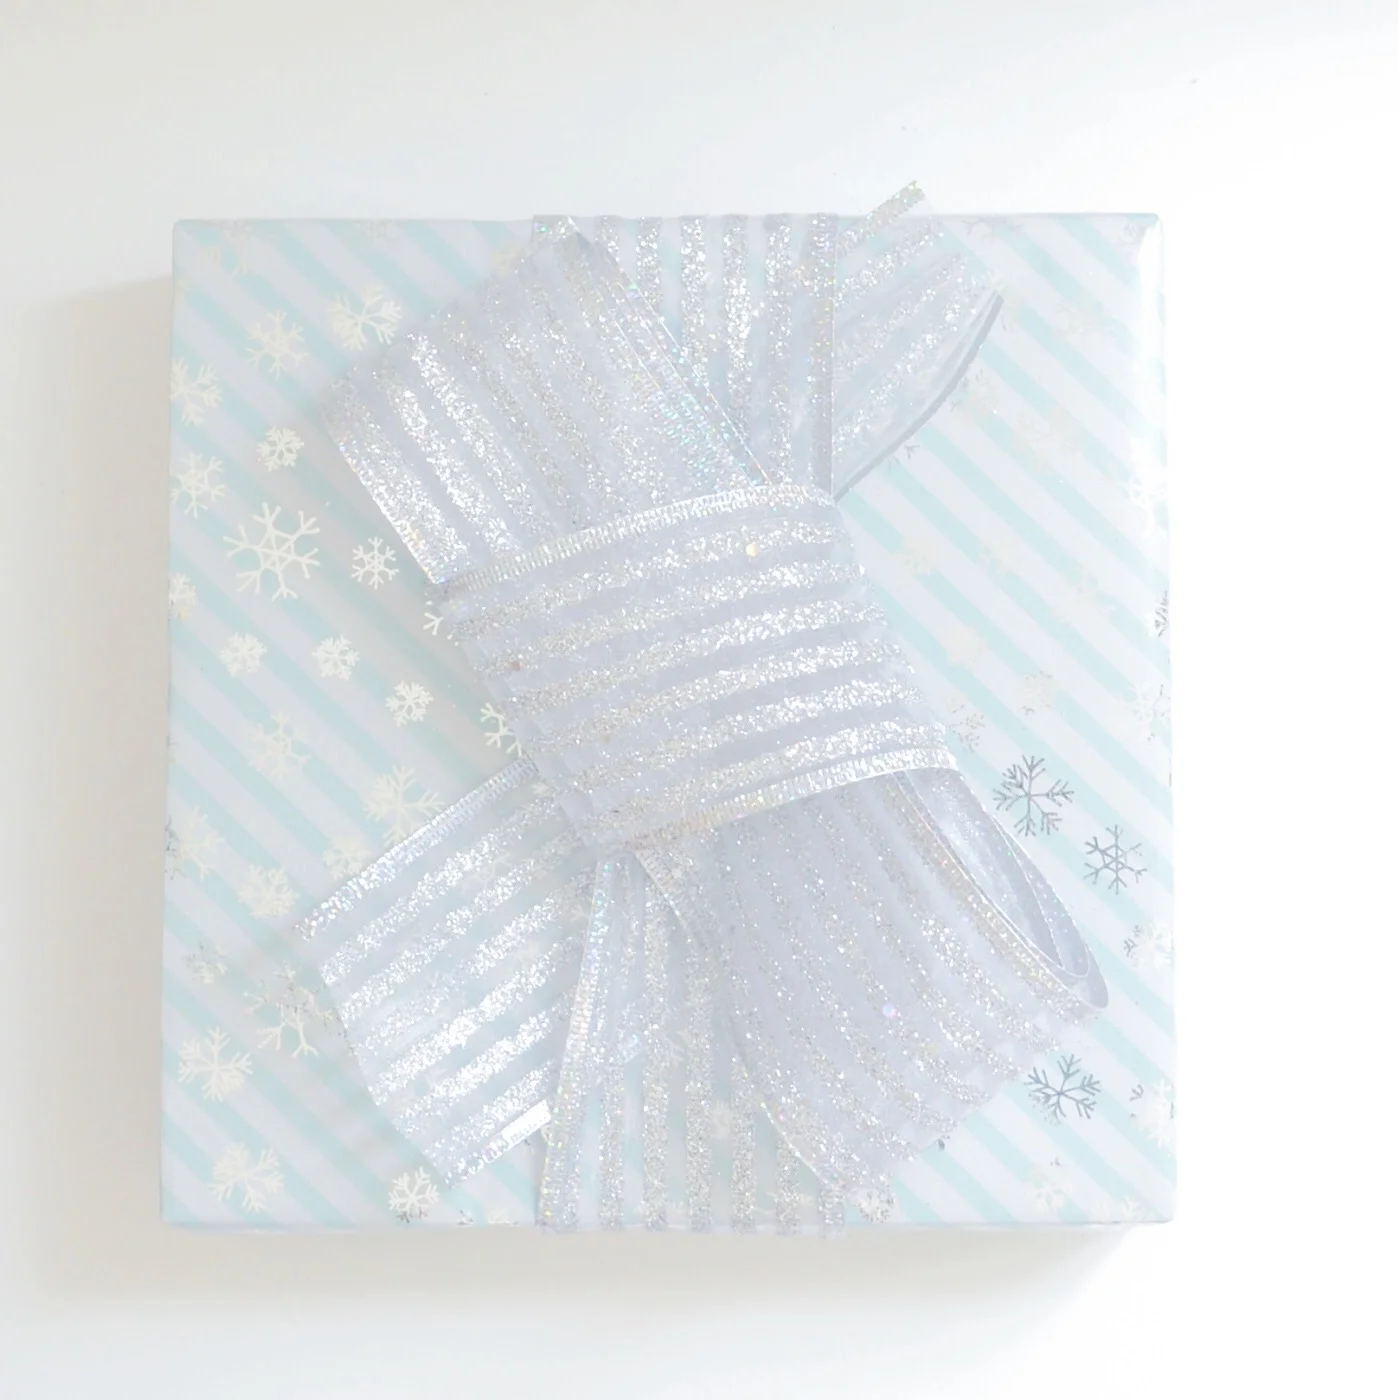
 9 | Pull ribbon taut. This will also rotate your bow around to the correct spot on your package.

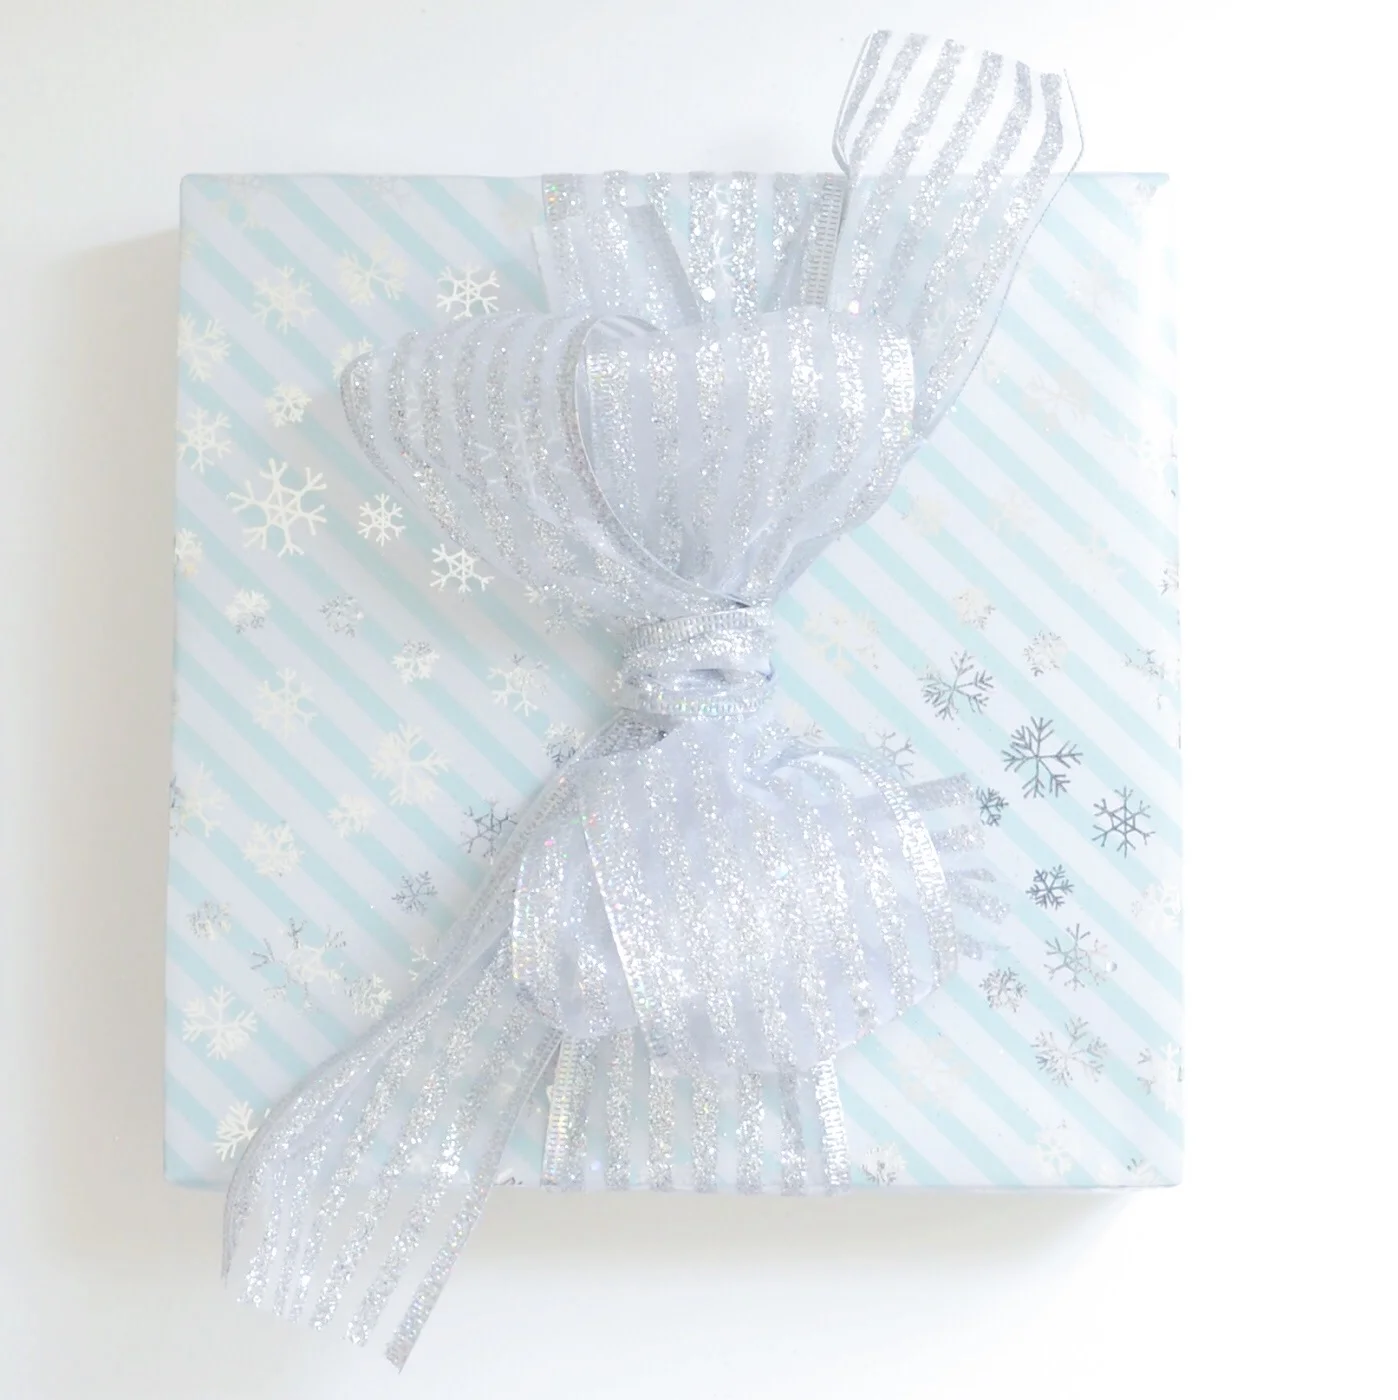
 10 | Cut the ends of your ribbon to the same length.

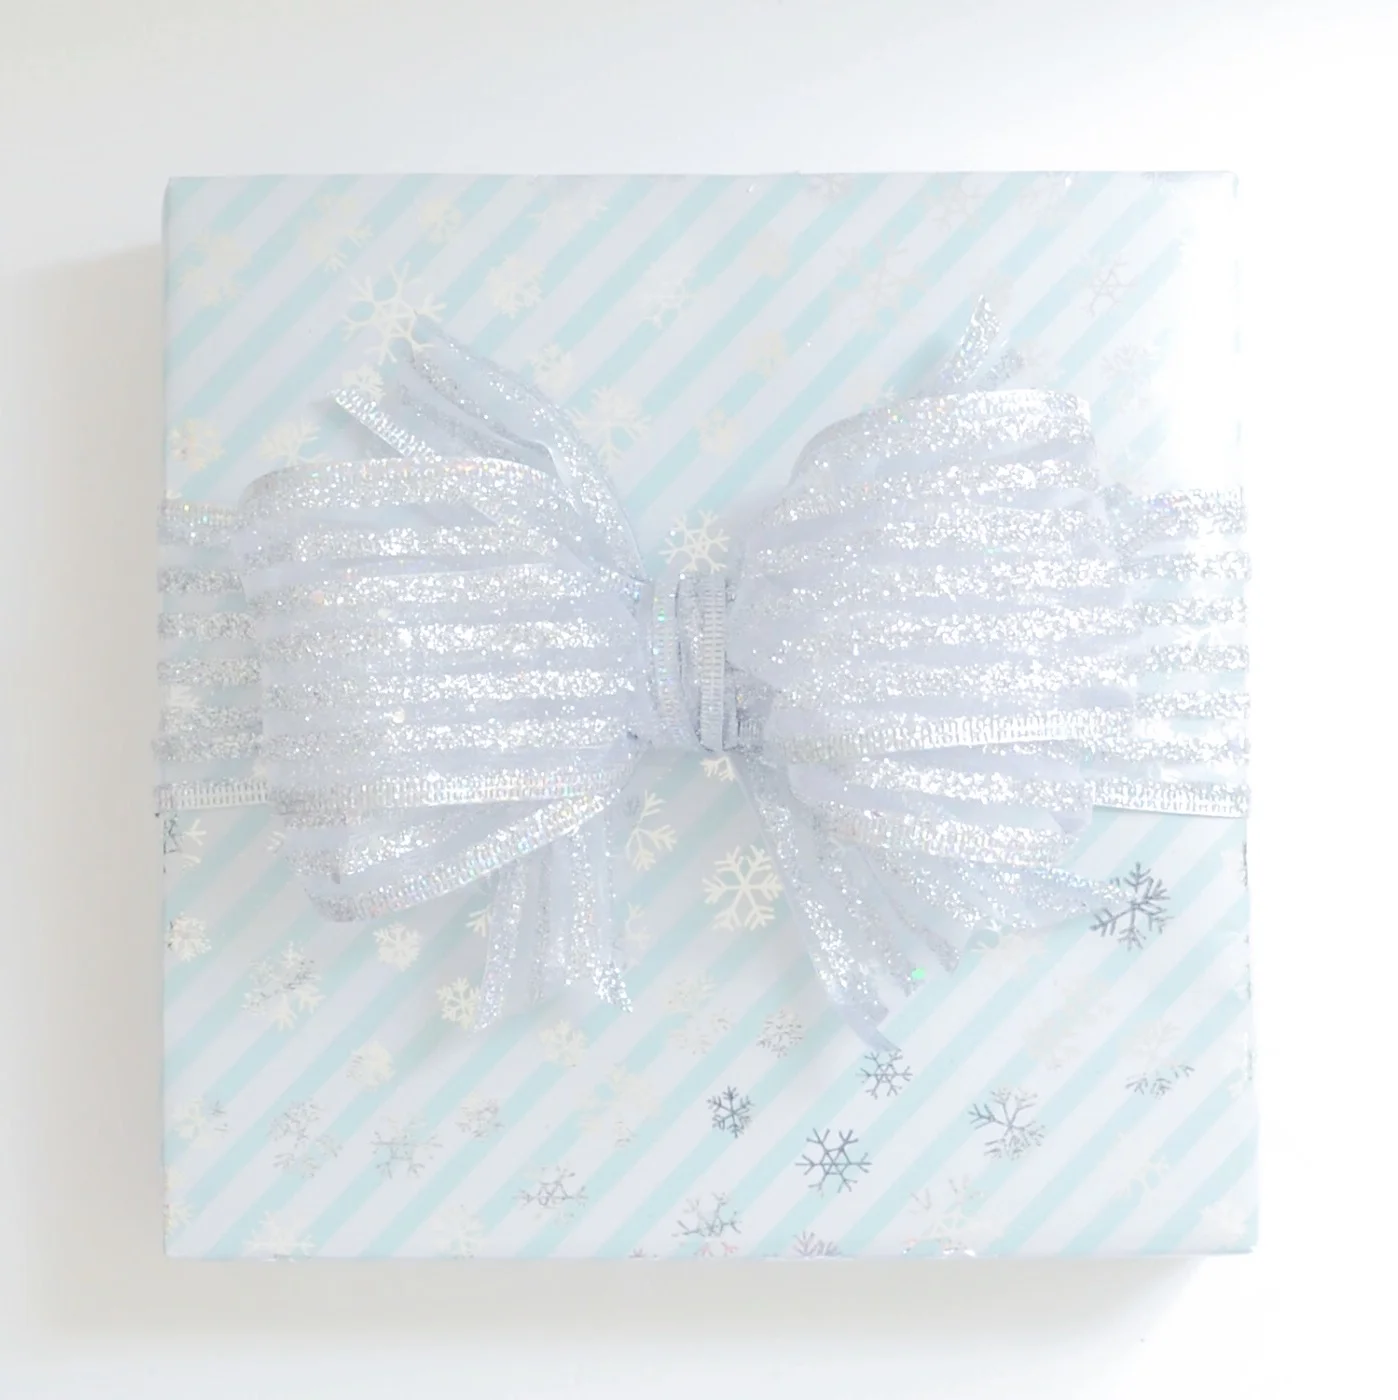
 11 | Fluff up your pretty bow!

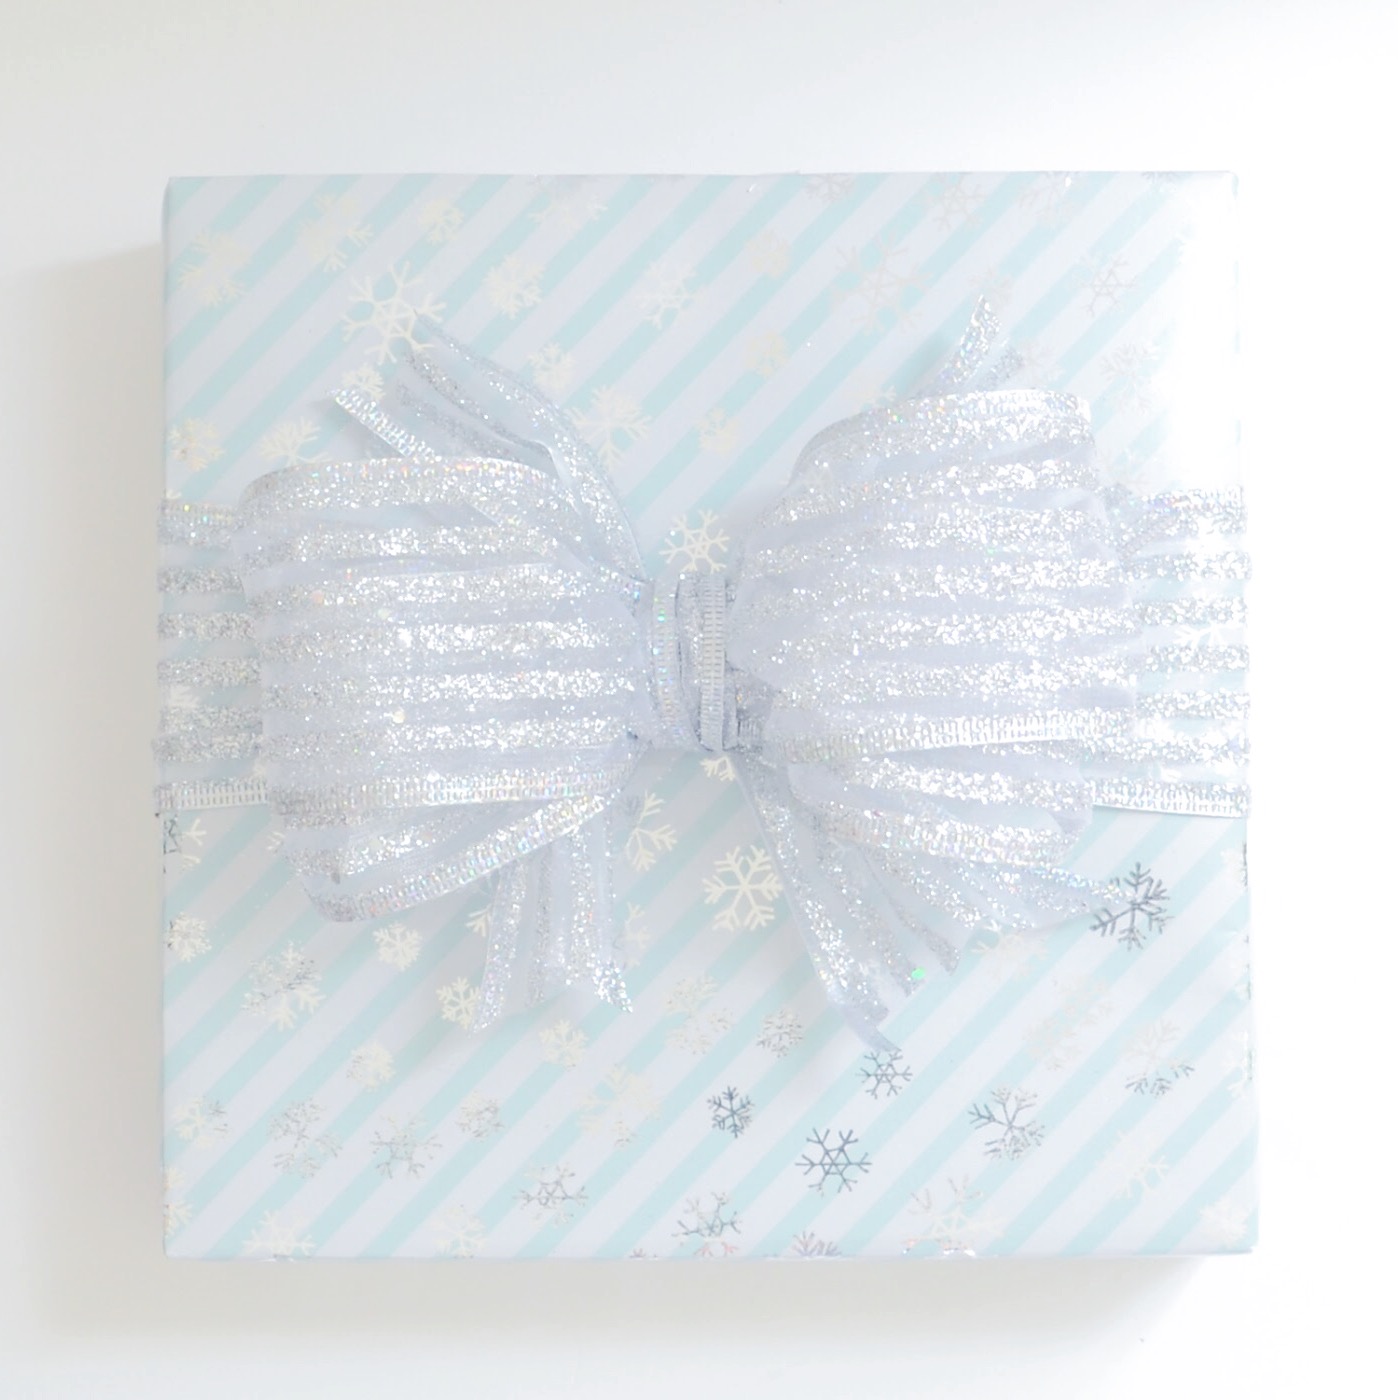
This method works best with wire ribbon so you can get a big, full bow. What I like most is that it takes very little time, and by using the stapler to hold it in place instead of your fingers, you don't have to ask anyone for help while tying! 

If you need to see the

tutorial in action

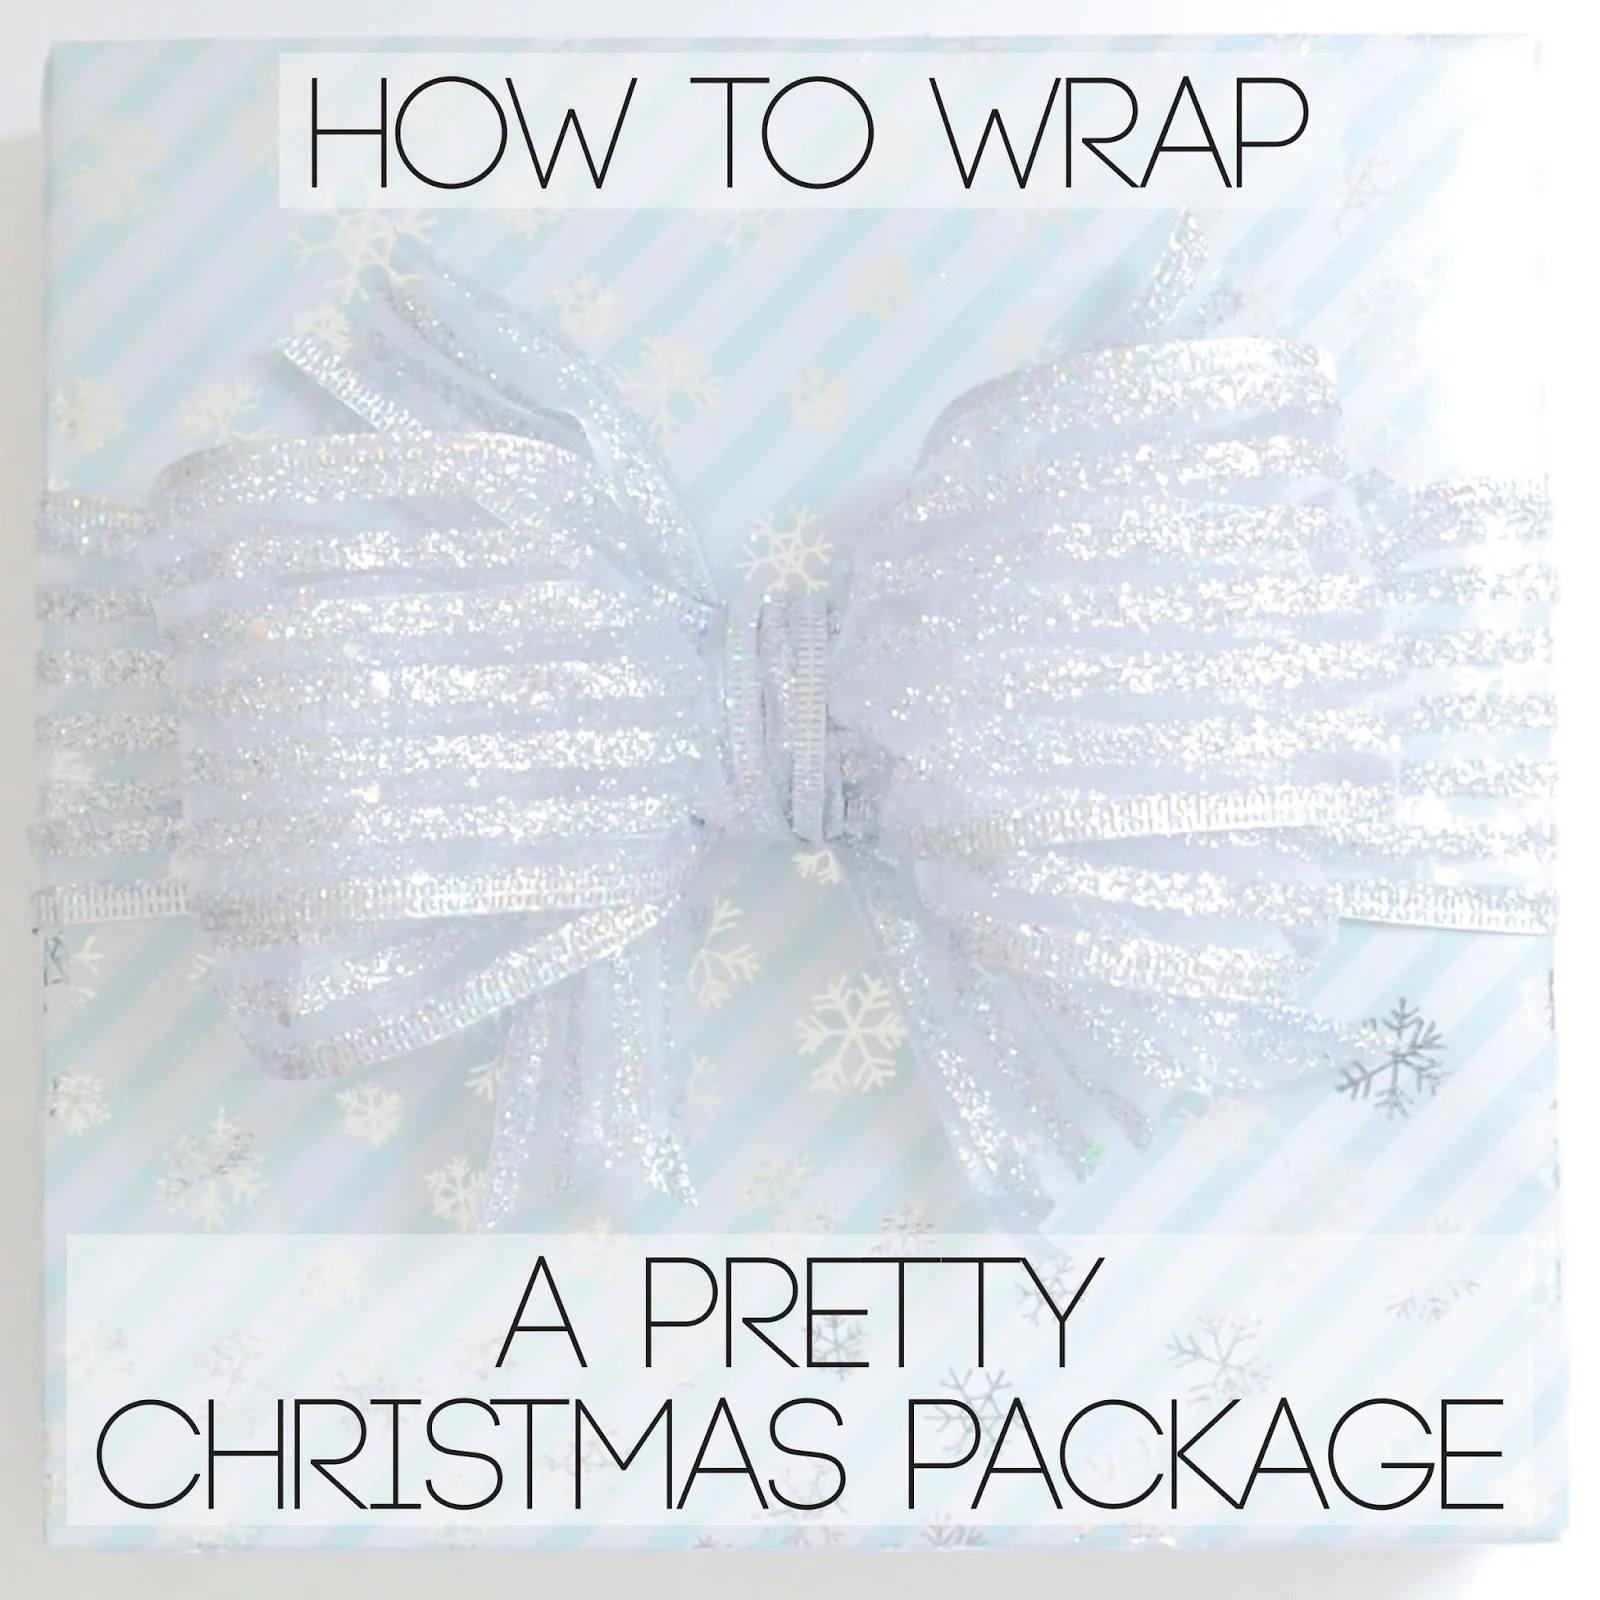
, or tips on how to wrap a package, don't forget to check

yesterday's post

. Let me know how this works for you, and I'd love to see pictures of those pretty packages you've made!

how to quickly wrap a pretty package

If you still have wrapping to do, you're in luck because I've put together a simple tutorial on how to quickly wrap your gifts! I have recently created a YouTube channel that I plan to start using to create tutorials on styling and other DIY projects that I will be blogging about in the new year, so to start it off, I experimented with a tutorial for you to see the steps listed below in action!

1 | Start by folding one side, ensuring there is enough left on the other side to completely cover the back side with about 1 inch overhang.

2 | Fold over other side, creasing at overhang. This creates the seam on the edge and not in the middle of the package!

3 | Pull taut and tape seam along the edge.

4 | Turn package to one side. Fold over left side pulling taut, and tape. 

5 | Fold and tape down excess paper at corner.

 6 | Pull other side taut, crease, and tape.

 7 | Crease corners of one side to make them crisp.

 8 | Fold flap and tape. 

 9 | Make corners crisp on other side.

10 | Fold under edges of flap to make even and crisp, tape.

11 | Repeat same steps for folds on opposite side.

12 | crease edges with index finger and thumb to make crisp.

13 | Put a bow on it!

 This sparkly bow takes less that a minute to make, and I'll have a tutorial coming tomorrow! Stay tuned!

under $30 gift guide for everyone on your list

I'm sure you've seen the enormous amount of perfectly curated gift guides that bloggers have been putting out this year for every possible person and situation. While they are great, I was feeling a bit overwhelmed with all of the choices, price ranges, categories, etc., so I put together some of my favorite gifts under $30 that can work for everyone on your list (including yourself)! 

1 acrylic wine rack ($17) << the perfect bar cart accessory >> 2 brass candle holders ($6) << group these together to add some sparkle to your tablescape >> 3 baublebar cayman studs ($28) << for holiday parties >> 4 cb2 marble frame ($20) << I would use this in the kitchen to hold recipes >> 5 threshold wire magazine holder ($9) << for tidying up home offices and organizing bookshelves >> 6 west elm morrocan inspired pillow cover ($30) << adds some coziness to your sofa >> 7 j.crew jewelry tray ($13) << nightstand catch-all >> 8 madewell power card ($30) << life saver during long road trips to visit family >>